Visible to Intel only — GUID: lro1424314705998
Ixiasoft
Visible to Intel only — GUID: lro1424314705998
Ixiasoft
1.6.2.1. Loading and Running the Default Preloader
- It can be ran through a DS-5 command script.
- It can be imported into a DS-5 project and launched similarly to any other Bare Metal application.
- It can be launched by the DS-5 Run Control (Debug Control) independent from the DS-5 projects.
This section demonstrates how the preloader is launched independently from the DS-5 project for Cyclone V SoC Development Kit. To optionally import the Preloader into a DS-5 project, refer to the “Importing Preloader into a DS-5 Project” section.
This process uses the Run Configuration (Debug Configuration) of DS-5 to download and execute the Preloader.
- To begin, create a new Debug Configuration. Run > Debug Configurations.
- Select DS-5 Debugger and click on New icon, which is located just above the "type filter text" field.
This creates a new Debug Configuration named “New_configuration”. Change the name in the Name field to something like “RunPreloaderDefault”.
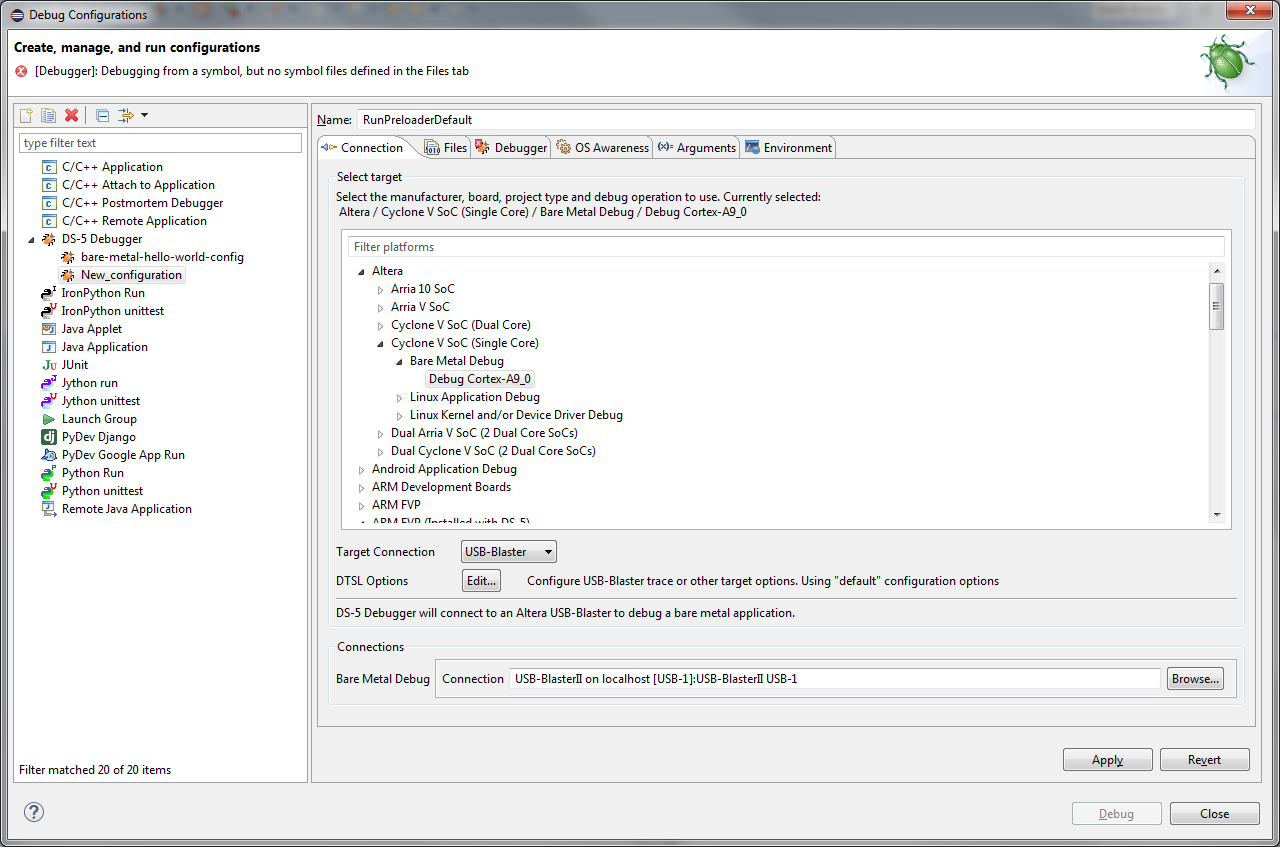
- On the Connection tab, select Altera > Cyclone V SoC (Single Core) > Bare Metal Debug > Debug Cortex-A9 and then select "USB-Blaster" from the Target Connection pull-down menu.
Figure 24. RunPreloaderDefault Target Connection Setting
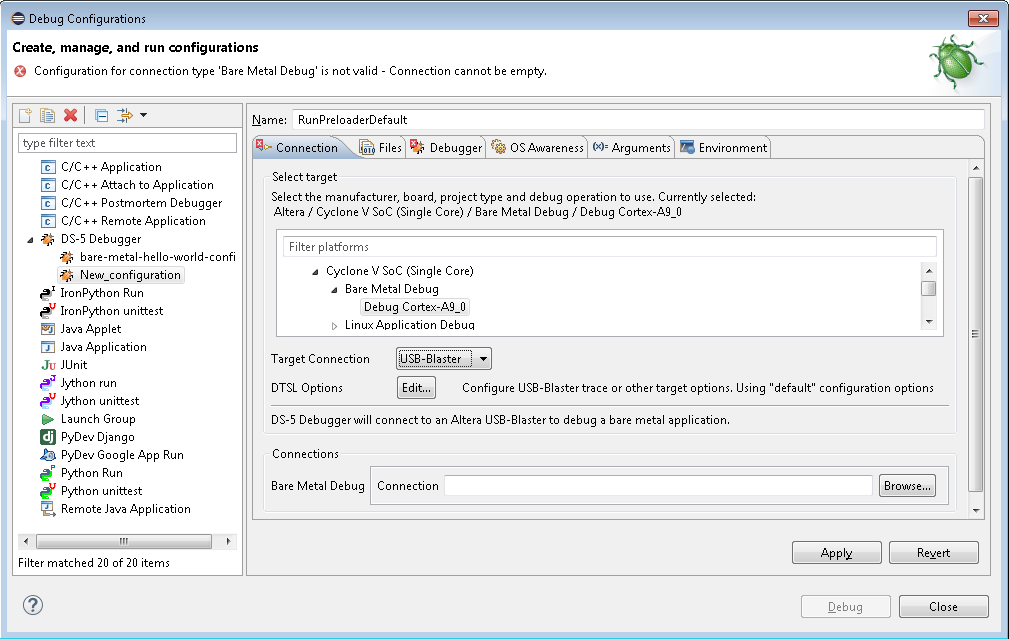
- To select the physical debug connection, after the Connections field, click on Browse to select the specific Debug Hardware connection.
Note: If there is only one debugger connected, then only one will show up in the list (as shown).Figure 25. Connection Browser
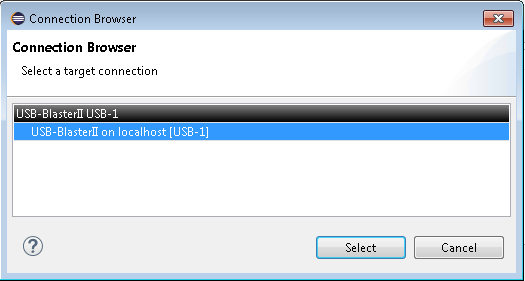 Figure 26. RunPreloaderDefault Connection Settings
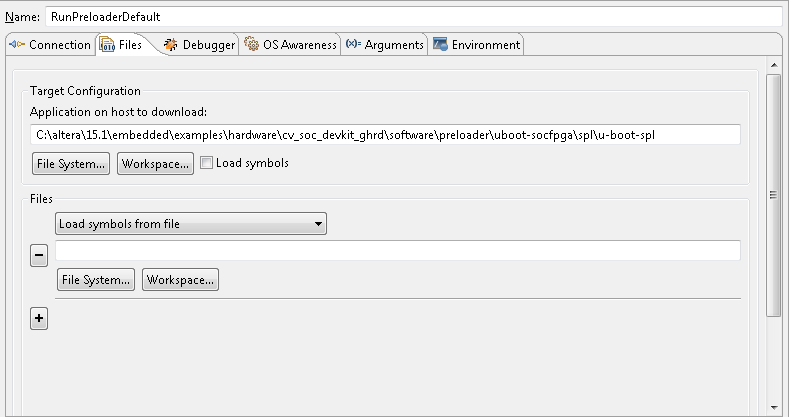
- Select the Files tab and use “File System…” to browse to the Preloader image (“u-boot-spl”).
The Preloader image can typically be found in the following location: <SoC EDS installation folder>\embedded\examples\hardware\cv_soc_devkit_ghrd\software\preloader\uboot-socfpga\spl\u-boot-spl.Note: Uncheck the “Load symbols” option.Figure 27. RunPreloaderDefault Files Settings
- On the Debugger tab, select “Debug from Entry Point” under Run Control and select Execute debugger commands to enable the following commands:
- Run
- Pause 1s
- Interrupt
- Quit
Figure 28. RunPreloaderDefault Debugger Settings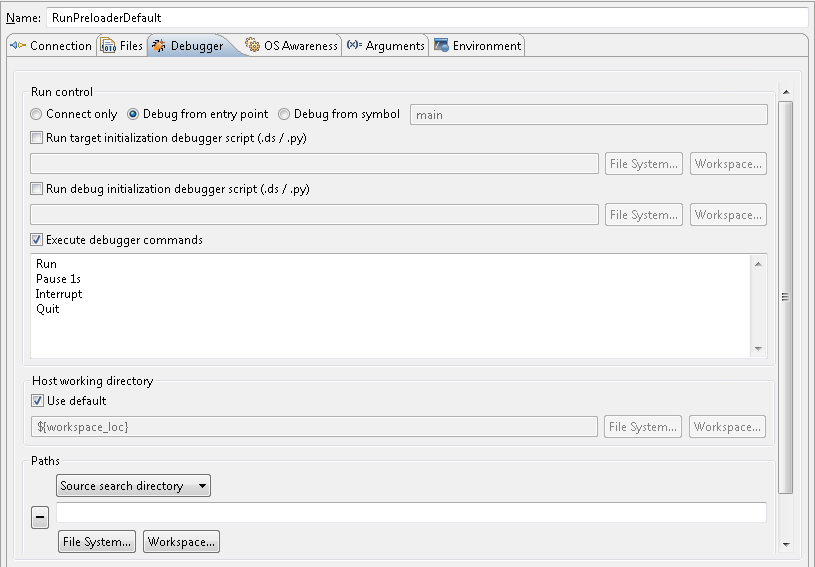
- Select Apply, Debug, and then "Yes" to switch to the DS-5 Debug perspective, if queried.