Visible to Intel only — GUID: whs1658414699882
Ixiasoft
1. About the High Bandwidth Memory (HBM2E) Interface FPGA IP Design Example User Guide
2. High Bandwidth Memory (HBM2E) Interface FPGA IP Design Example Quick Start Guide
3. High Bandwidth Memory (HBM2E) Interface FPGA IP Design Example Description
4. Document Revision History for High Bandwidth Memory (HBM2E) Interface FPGA IP Design Example User Guide
2.1. Creating an Quartus® Prime Project for Your HBM2E System
2.2. Configuring the High Bandwidth Memory (HBM2E) Interface FPGA IP
2.3. Generating the High Bandwidth Memory (HBM2E) Interface FPGA IP Design Example for Synthesis and Simulation
2.4. Compiling and Programming the Agilex™ 7 M-Series High Bandwidth Memory (HBM2E) Interface FPGA IP Design Example
2.5. Using the HBM2E Design Example with the Test Engine IP
2.6. Enabling and Using the HBM2E Design Example with the Performance Monitor
2.7. Using the AXI4-Lite-enabled HBM2E Design Example in Hardware and Simulation
2.8. Simulating the High Bandwidth Memory (HBM2E) Interface FPGA IP
2.8.1. High Bandwidth Memory (HBM2E) Interface FPGA IP Example Design For Simulation
2.8.2. Simulating High Bandwidth Memory (HBM2E) Interface FPGA IP with Synopsys VCS*
2.8.3. Simulating the HBM2E FPGA IP with ModelSim SE
2.8.4. Simulating the HBM2E FPGA IP with Cadence* Xcelium Parallel Simulator
2.8.5. Simulating High Bandwidth Memory (HBM2E) Interface IP Instantiated in Your Project
Visible to Intel only — GUID: whs1658414699882
Ixiasoft
2.1. Creating an Quartus® Prime Project for Your HBM2E System
You must have an Quartus® Prime project before generating the HBM2E FPGA IP and design example. If you do not already have an appropriate Quartus® Prime project, follow these steps to create an Quartus® Prime project targeting a device that supports High Bandwidth Memory (HBM2E) Interface FPGA IP.
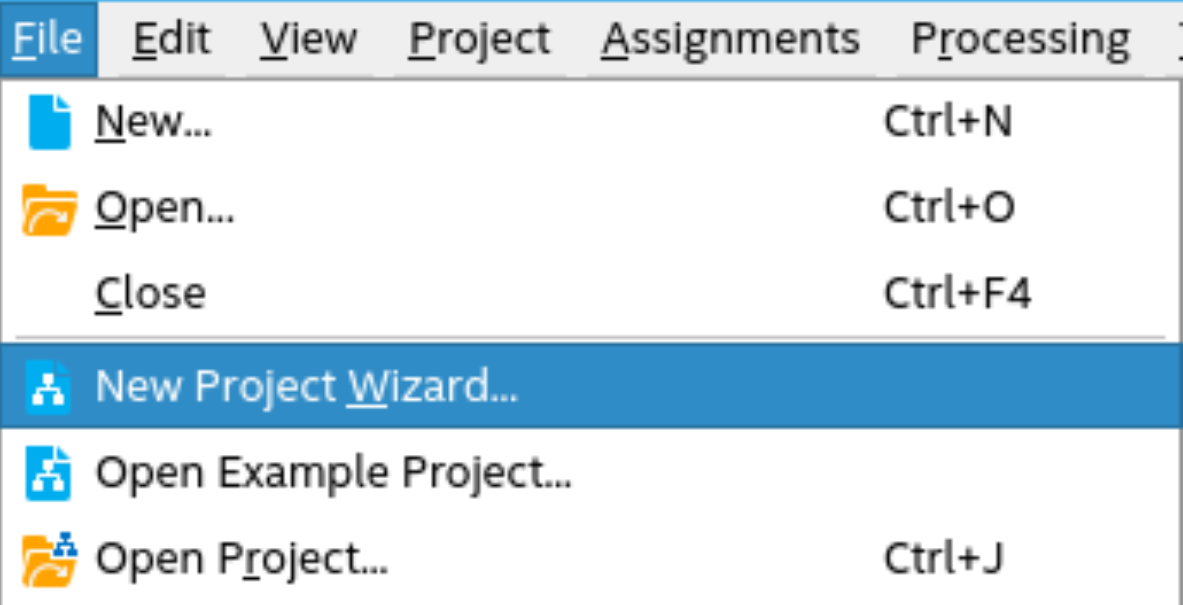
- Launch the Quartus® Prime Pro Edition software and select File > New Project Wizard. Click Next.
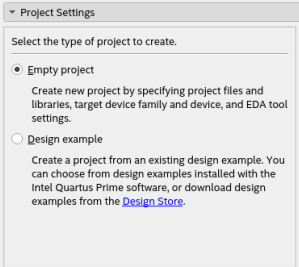
- Specify the project type, project directory, and device on this page.
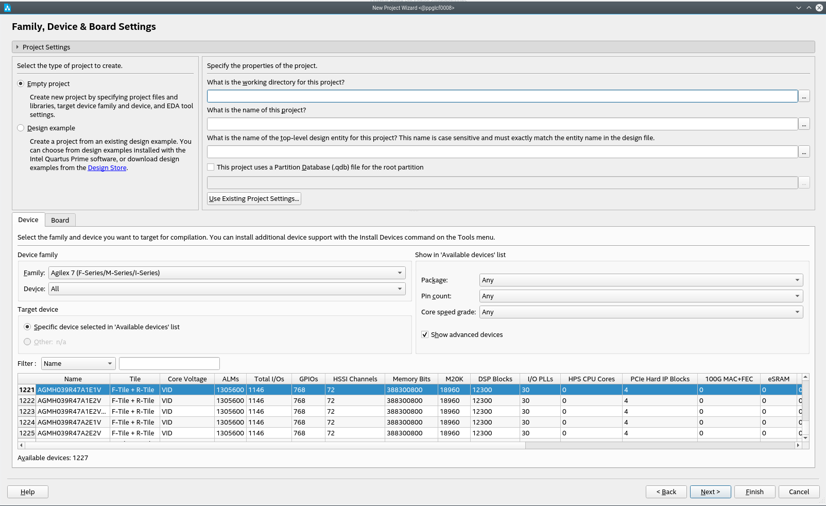
- Verify that Empty Project is selected.
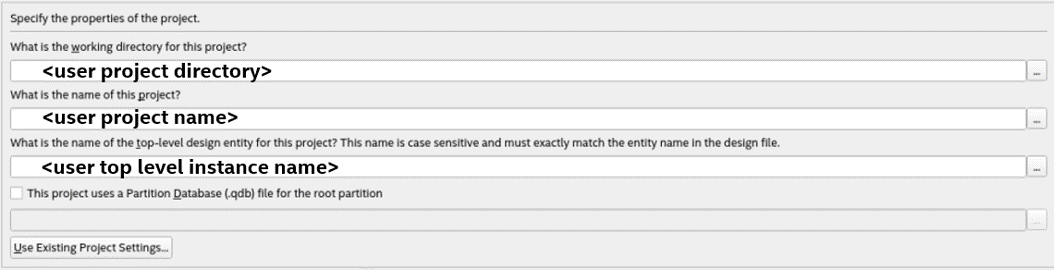
- Specify a directory name (<user project directory>), a name for the Quartus® Prime project (<user project name>), and a top-level design entity name (<user top-level instance name>) that you want to create.
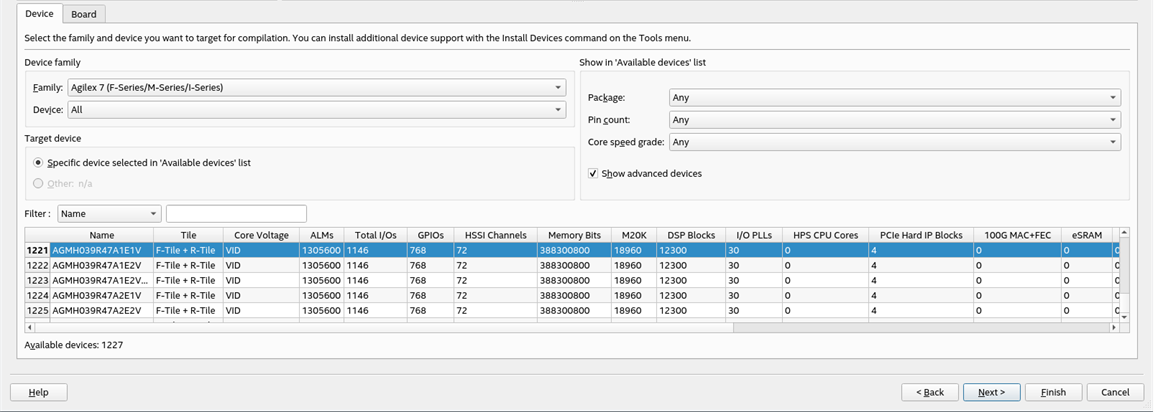
- In the Device Family section of the dialog box, select Agilex™ 7 (F-Series/M-Series/I-Series).
- Under Device, select Agilex™ 7 M-Series which supports HBM2E. Alternatively, if you already know the specific part number of the device that you want to use, type that device part number in the Name filter field.
Note: The generated HBM2E IP targets the specific Agilex™ 7 M-Series device that you specify. Because different Agilex™ 7 M-Series part numbers may identify devices with differing numbers of HBM2E devices and differing HBM2E device locations, as well as differing stack count, height, and density properties, it is important that you specify the correct Agilex™ 7 M-Series device part number before proceeding to the next step.
- Select the appropriate device under Available Devices. Click Next three times.
- Click Finish. The system creates the (<user project directory>).qpf and (<user project directory>).qsf files within the (<user project directory>).