Visible to Intel only — GUID: uwm1512073571520
Ixiasoft
1.1. Creating an Azure* Account
1.2. Licensing Intel® FPGA Software for the Azure* Cloud
1.3. Licensing IP Cores
1.4. Managing Intel® FPGA Software on the Azure* Cloud
1.5. Persistent Storage and Data Transference
1.6. Hosting a License Server in the Microsoft* Azure* Cloud
1.7. Connecting to the License Server
1.8. Example: Running Intel® Quartus® Prime Design Space Explorer II
1.9. Example: Running the ''Hello World'' Program Using the Intel® FPGA SDK for OpenCL™
1.4.1. Signing In the Azure* Web Portal
1.4.2. Selecting Intel® FPGA Tool from the Azure* Marketplace
1.4.3. Specifying the Virtual Machine Characteristics
1.4.4. Launching the Virtual Machine
1.4.5. Connecting to the Azure* Virtual Machine Using SSH
1.4.6. Obtaining a GUI Desktop on the Running Azure* Virtual Machine
1.4.7. Opening the Intel® Quartus® Prime Software
1.4.8. Terminating the Virtual Machine
Visible to Intel only — GUID: uwm1512073571520
Ixiasoft
1.9. Example: Running the ''Hello World'' Program Using the Intel® FPGA SDK for OpenCL™
If you are new to the Intel® FPGA SDK for OpenCL™ , use the "Hello World" example included in the Intel® FPGA software installation as a starting point.
To set up the "Hello World" example:
- In the virtual desktop, open a terminal by clicking Applications > System Tools > Terminal.
Figure 18. Open Terminal in Azure* Virtual Desktop
- Copy the example folder from the Intel® FPGA software installation to the /data directory. In the terminal, type:
cp -r $INTELFPGA_ROOTDIR/examples/opencl ~/The example files are now in the ~/opencl folder.Figure 19. Contents of opencl Folder - With a web browser, open the README.html file. Follow the instructions to run the "Hello World" example.
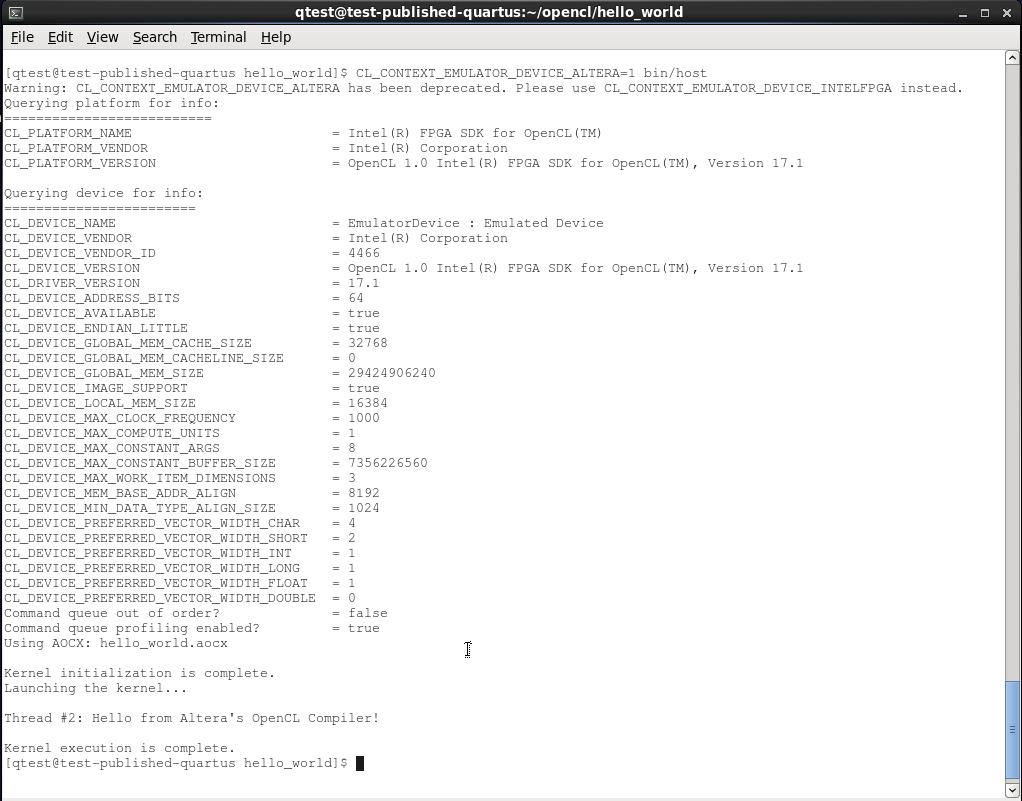
Figure 20. Terminal After Executing the "Hello World" Example


To find more examples of using Intel® FPGA SDK for OpenCL™ , go to the Developer Zone in the Altera website.