Visible to Intel only — GUID: fnl1480437392520
Ixiasoft
1.1. Introduction
1.2. Nichestack Support and Licensing
1.3. Hardware and Software Requirements
1.4. Tutorial Files
1.5. Software Development Flow
1.6. Nios II Simple Socket Server Overview
1.7. Important NicheStack TCP/IP Stack Concepts
1.8. Where to Go Next
1.9. Hardware Setup Details
1.10. Document Revision History for the Using the NicheStack TCP/IP Stack - Nios II Edition Tutorial
Visible to Intel only — GUID: fnl1480437392520
Ixiasoft
1.5.1. Creating a New Nios II Project
In this section, you create a new Nios II SBT for Eclipse project using a project template. To do so, follow these steps:
- Start the Nios II SBT for Eclipse by performing one of the following actions:
- On Windows, on the Start menu, point to All Apps > Intel FPGA <version> Pro Edition >, and click Nios II <version> Software Build Tools for Eclipse.
- On Linux, open a Nios II Command Shell and type eclipse-nios2.
- On the File menu, point to New and click Nios II Application and BSP from Template. The first page of the Nios II Application and BSP from Template wizard appears.
- Under Target hardware information, browse to and open the <tutorial_files> \niosii_ethernet_standard_ <board> \eth_std_main_system.sopcinfo SOPC Information File (.sopcinfo). The SOPC Information File name box contains the path to the .sopcinfo and the CPU name box contains the name of one of the available Nios II processors as defined in Platform Designer (Standard). The hardware design of the tutorial contains a single processor, so the software automatically selects the single processor.
- In the Project name box, type niosII_simple_socket_server. The Project location fills in for you automatically.
- Verify Use default location is on.
- Under Project template, select Simple Socket Server
Figure 1 shows the state of the Nios II Application and BSP from Template wizard at this point in the tutorial.
Figure 1. Nios II Application and BSP from Template Wizard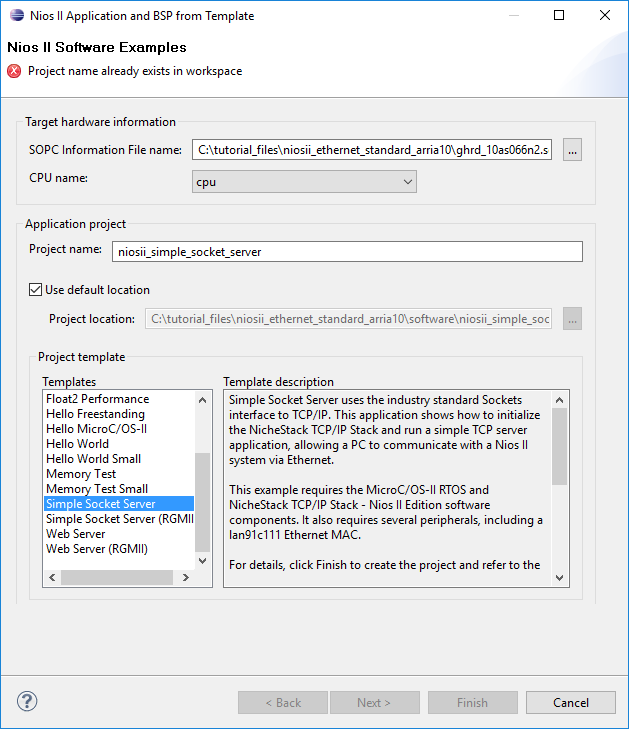
- Click Next. The second page of the Nios II Application and BSP from Template wizard appears.
- Select Select an existing BSP project from your workspace.
- Click Create. The Nios II Board Support Package dialog box appears.
- In the BSP name box, type niosII_simple_socket_server_bsp.
- In the Operating system list, select Micrium MicroC/OS-II.
- Click Finish. The wizard creates a BSP project and closes the Nios II Board Support Package dialog box.
- Click Finish. The wizard creates an application project.
Note: If the wizard prompts you to open the Nios II perspective, click Yes. If the Finish button is not available, click Cancel to close the previous GUI. Repeat Step 2 - 8, select niosII_simple_socket_server_bsp, and click Finish.
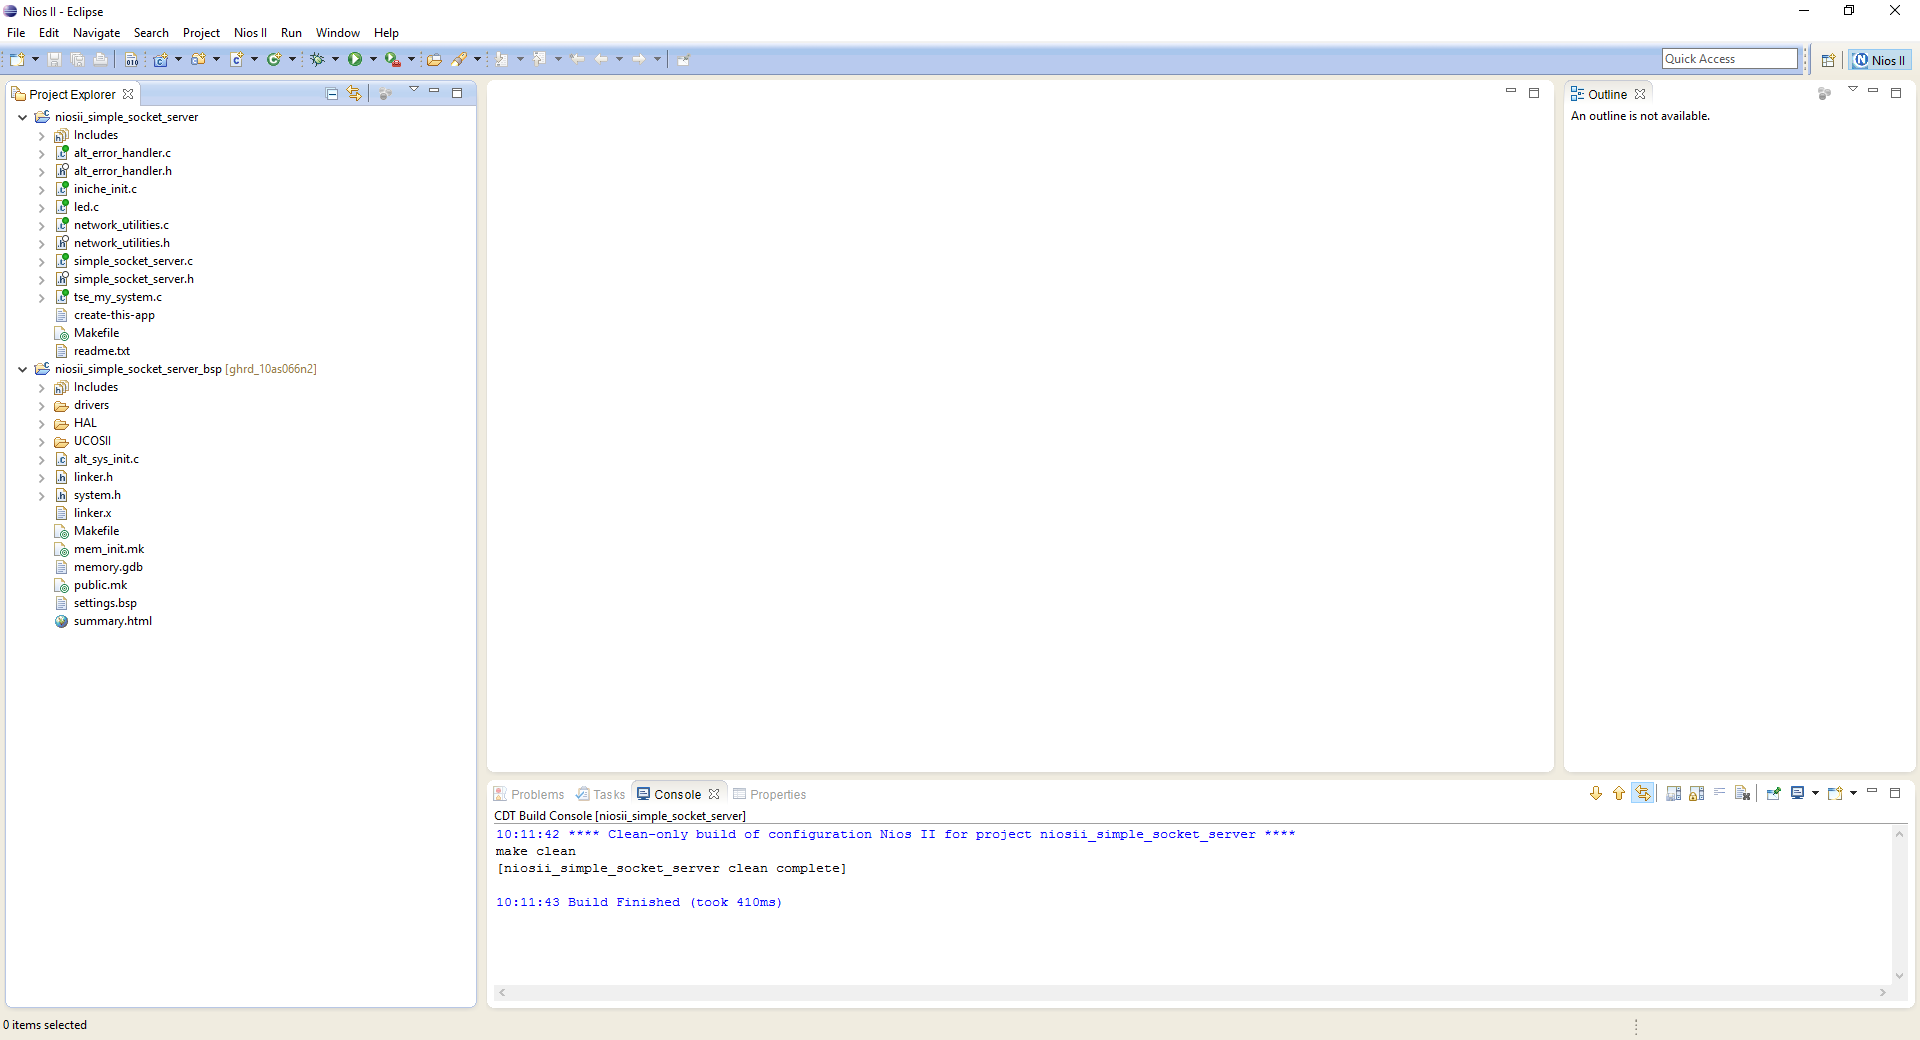
Figure 2 shows the application and BSP projects in the Project Explorer view at this point in the tutorial.
Figure 2. New Projects in the Nios II Perspective