Download the Intel® Driver & Support Assistant . For more information, see the Intel® Driver & Support Assistant FAQ .
Environment
Operating System
| Note | Install the latest graphics driver from your computer manufacturer or install the latest graphics driver from the Download Center using one of the methods below. |
This video explains methods by which you can update your Intel® Graphics Driver.
Installation method 1: Automatic (Recommended)
Use Intel® Driver & Support Assistant to automatically detect and install the driver

Installation method 2: Manual
Manually install the driver from the Intel® Download Center
Step 1
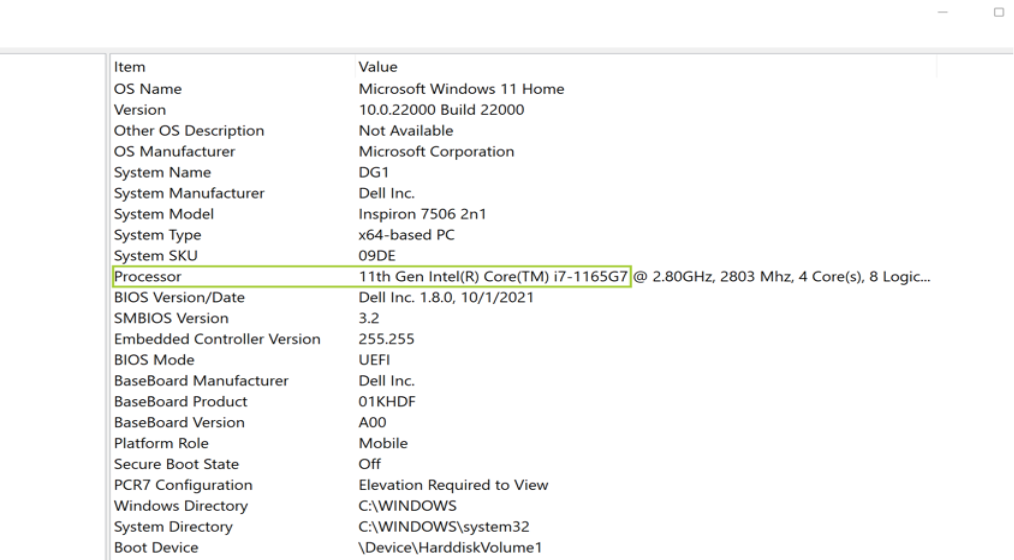
Identify the Intel® Processor number and note the Intel® Processor.
-
Press on the Windows Key
 on your keyboard.
 -
Start typing System.
-
Choose System information.
-
This will show the processor information such as the processor number.
Step 2
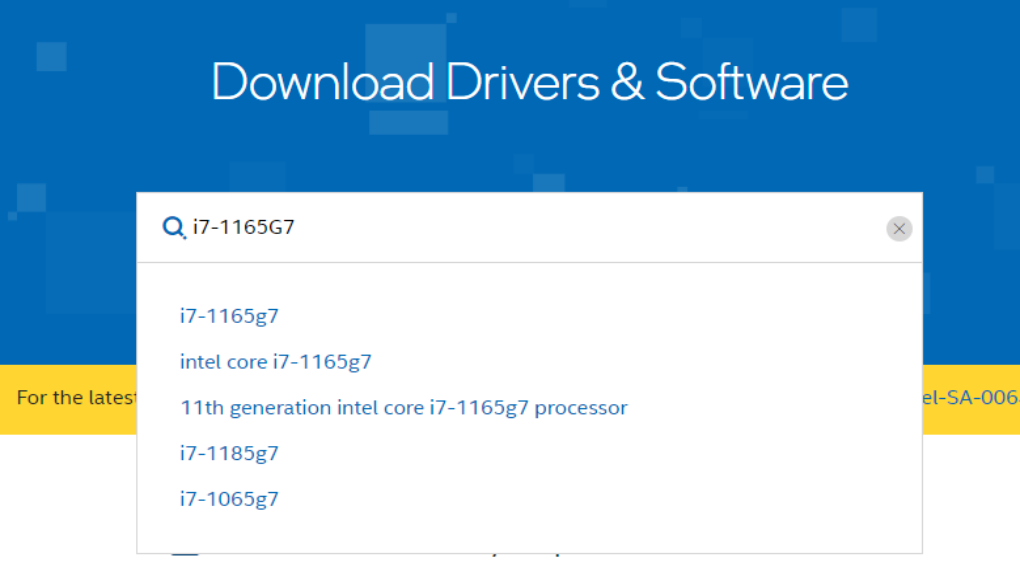
Go to the Download Center.
Enter the processor number (identified in step 1) in the search bar.
Step 3
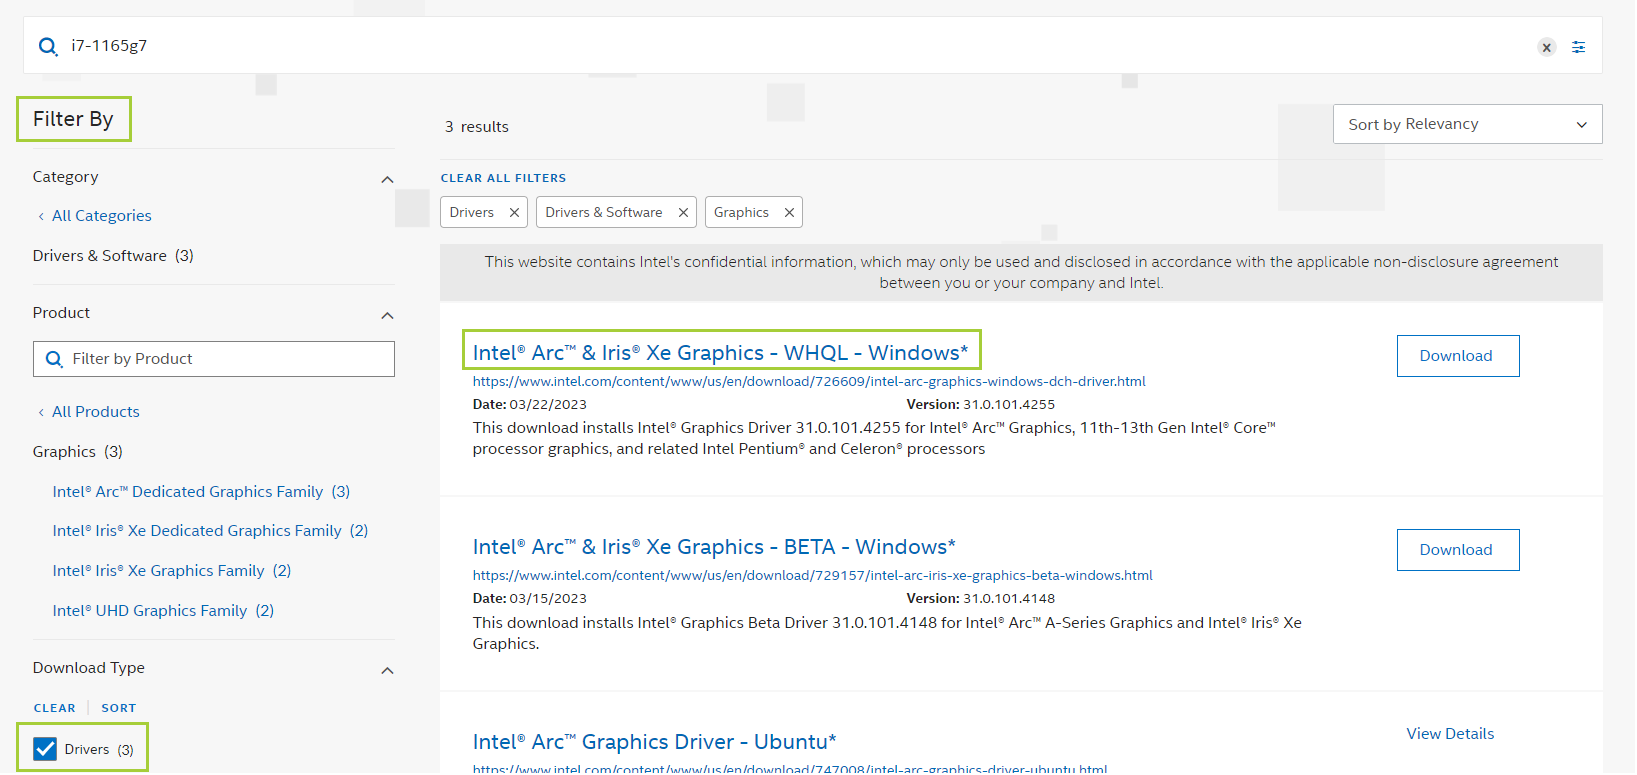
Click on Drivers and Software (located on the left under Filter By).
Select the desired driver result.
Step 4
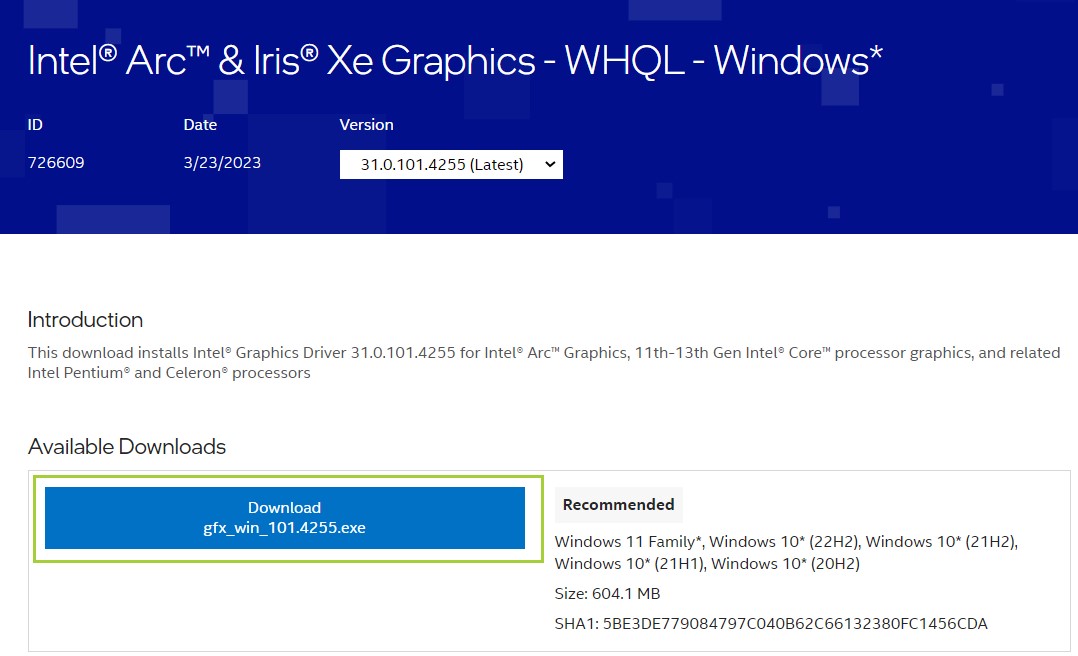
Click Download and open the .exe file.
Step 5
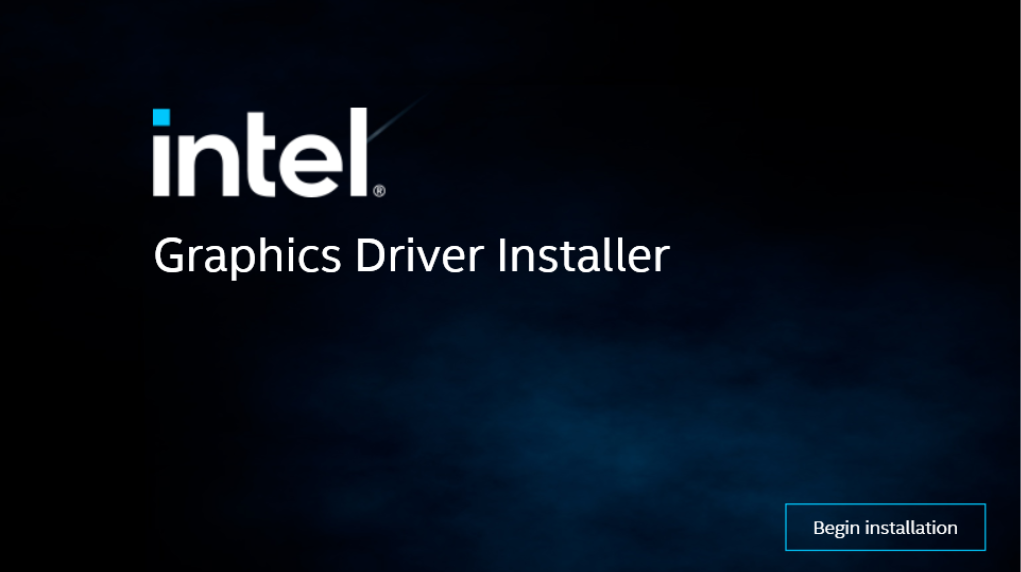
The installer will display on the screen.
Click Begin Installation.
Step 6
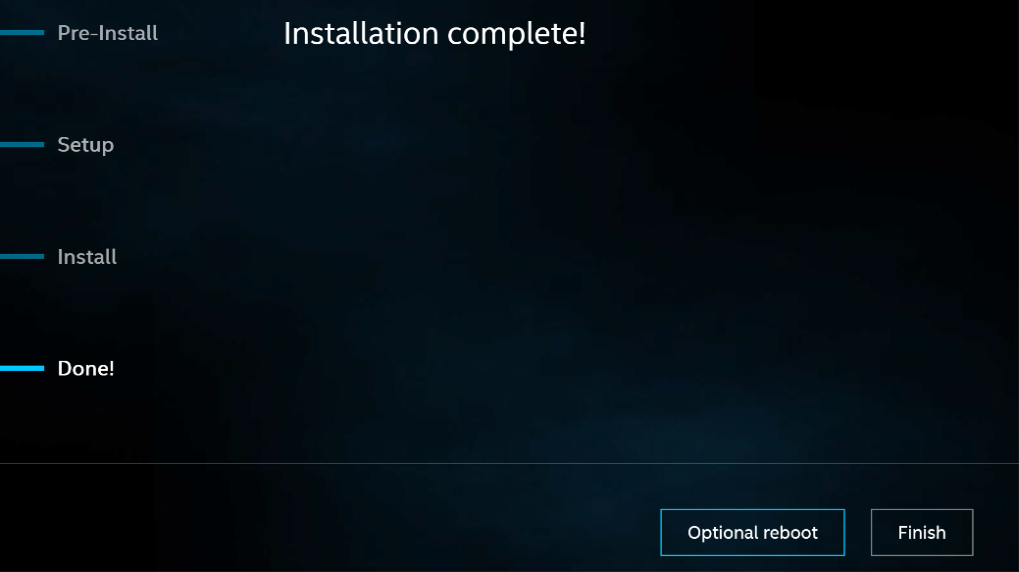
Follow the steps in the installation until the installer shows Installation Complete.
Confirm Driver Installation
How to verify the driver successfully installed
After running the .exe file, verify the installation by following the steps below:
Step 1
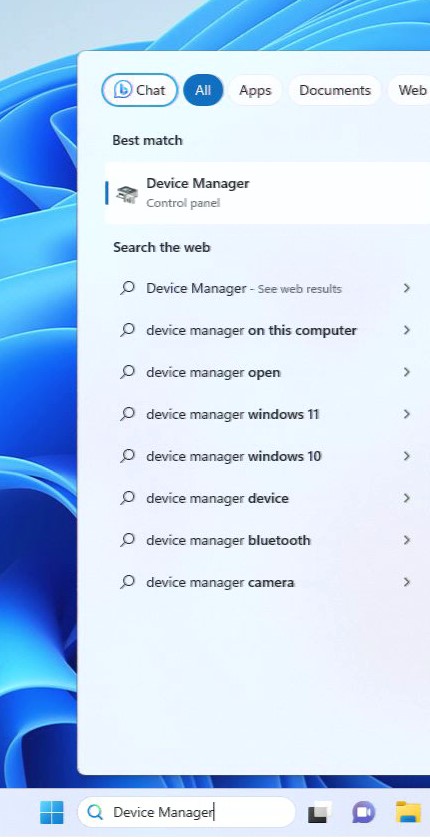
Open the Device Manager.
- Press on the Windows key
 on your keyboard
 - Start typing Device Manager.
- Choose Device Manager.
Step 2
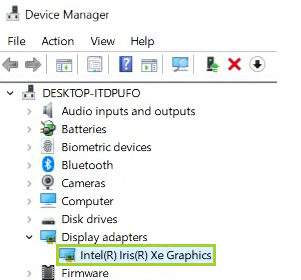
Double-click on the Display Adapters and click the Intel Graphics device.
Step 3
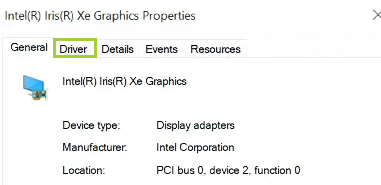
Click the Driver tab.
Step 4
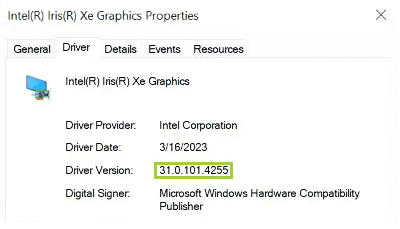
Verify that the Driver Version is correct according to the driver that was previously downloaded in Method 2.
If you experience issues installing your graphics driver after attempting the above steps, try our Troubleshooting Wizard for Intel® Graphics Drivers for step-by-step instructions on how to troubleshoot these issues. You may also contact Intel Support for further assistance.