Developer Guide
FPGA Development for Intel® oneAPI Toolkits with Visual Studio Code on Linux*
Build and Run the FPGA Emulation Image for Fast Compile
The FPGA emulation image is a fast-running compile that can help you achieve functionally correct code. For detailed information, refer to Types of FPGA Compilation in the Intel® oneAPI Programming Guide. You can compile a basic FPGA sample to the FPGA emulator target by performing the following:
Not all oneAPI sample projects use CMake. The README.md file for each sample specifies how to build the sample. For samples that use CMake, Intel® recommends you refer to the CMake Tools Extension for Visual Studio Code article that is maintained by Microsoft*.
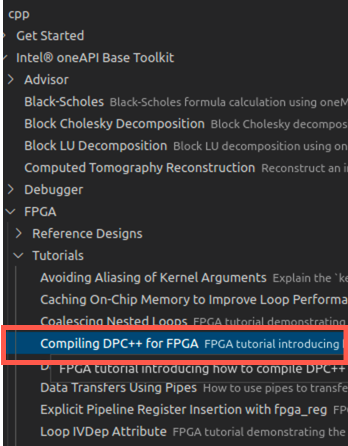
- Under the FPGA > Tutorials section, hover over the Compile Flow sample and click + to create a project.

You are promoted to select a folder to save the project.
- Save the project. A new VS Code session is now open with the Compile Flow sample.
- Open a terminal in VS Code.
- Run the cd command to move to the top-level directory of the newly created project.
- Run the following command to create a directory named build:
- Run the cd command to move to the newly created build directory.
- Run the following command to build the sample. The project build files are written into the build directory.
- Run the following command to select the emulation build target:
NOTE:Refer to the FPGA code sample README file to find the right make target.
You should now observe an executable named compile_flow.fpga_emu in your directory. Use this file as the emulator executable for the design.
- Execute the following command to run the emulator executable:
