| Note |
If you are no longer receiving MFA notifications and only have one MFA method configured you will need to contact Intel to reset your MFA method.
|
To set up your Multi-Factor Authenticator for the first time or if Intel has reset your MFA method, follow the steps below:
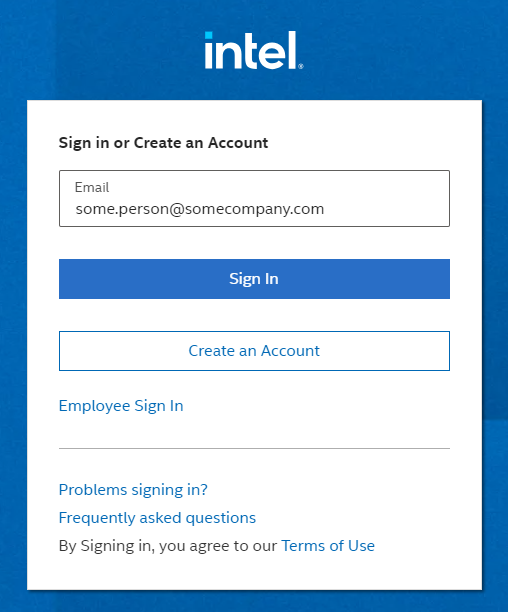
- Go to www.intel.com and select the person icon in the upper-right half of your browser.

- Enter your email address you have registered with Intel, and select Sign In.
| Important |
If the URL starts with https://consumer.intel.com after selecting Sign In then you are not required to set up an MFA method with Intel and can sign in with either a password or a Single-Use Passcode. Only accounts that have access to proprietary information are required to set up an MFA with Intel. For more information on signing in with a password or using the Single-Use Passcode see here.
|
-
You are now being redirected to your company to authenticate. Depending on the identity management solution your company uses, you will either be prompted to enter an email/password or will receive a one-time passcode to your email. If you are prompted for email/password this should be the work email address that you would use to log in to Office 365 or your company's device. It may be a different email than you have registered with Intel. If you are unsure of what email to use you can check the email connected to your laptop/device by:
-
Select the Start button 
-
Select Settings 
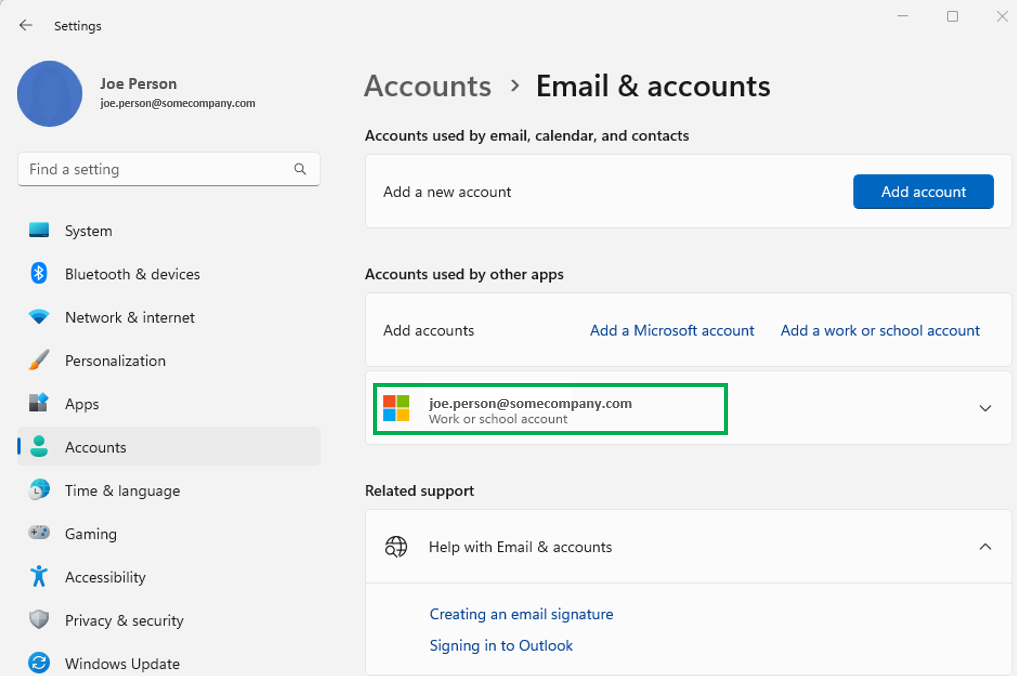
- Select Accounts and then Email & accounts
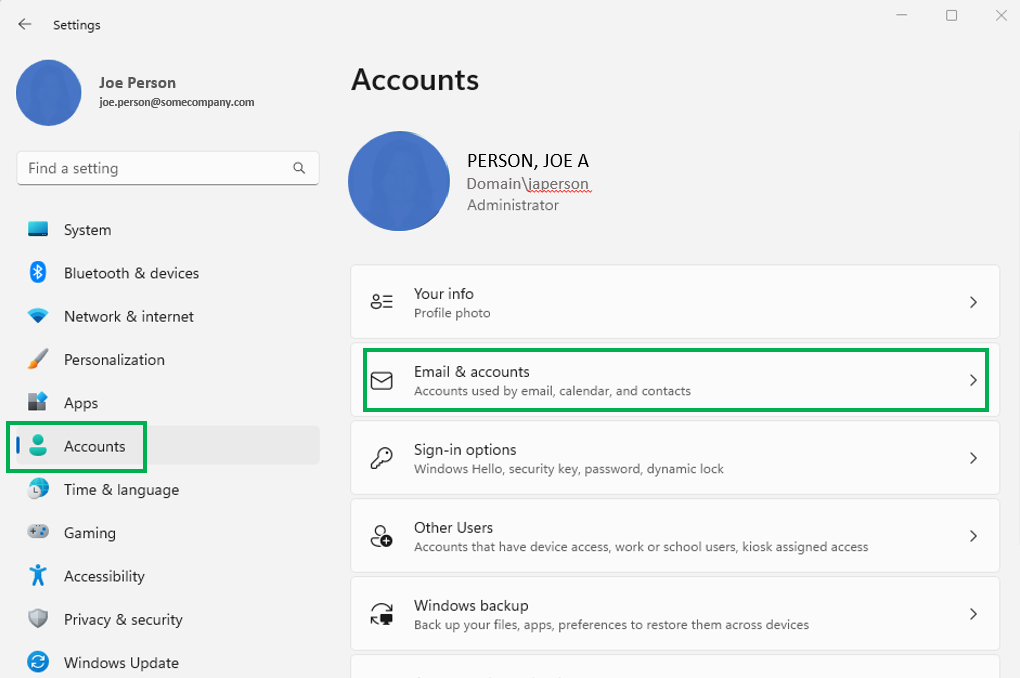
- You can now see what email you sign into your work account with.
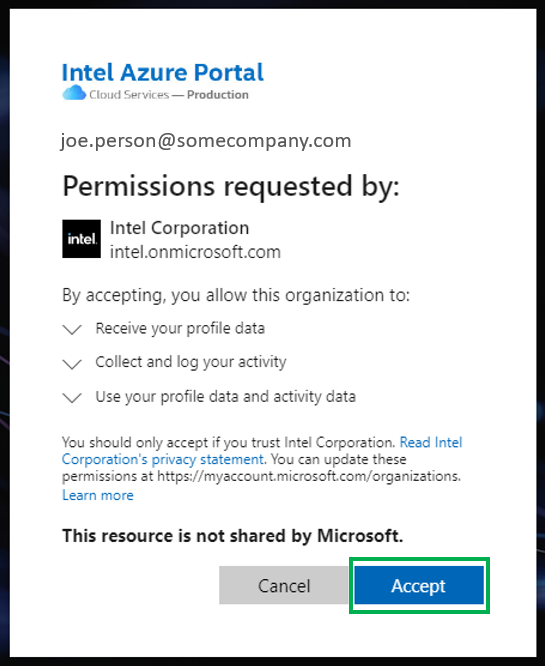
Upon successfully authenticating with your company, you will be redirected back to Intel to start setting up your MFA method.
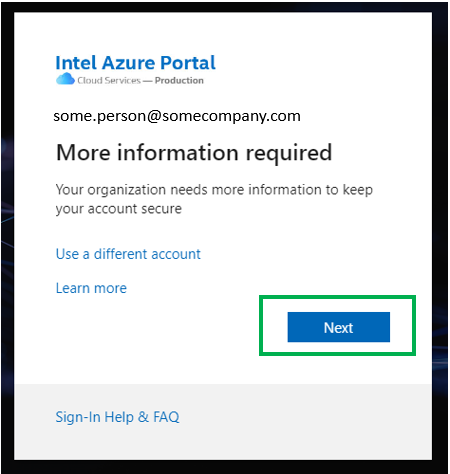
- Begin the Azure MFA registration process by clicking Accept as shown below.
- By default, the Microsoft Authenticator* app is prominently displayed but you are not required to use this MFA method. Choose the option you would like to use for your MFA with Intel in the list below:
Microsoft Authenticator* application
Microsoft Authenticator app can be installed on either an Android or IOS mobile device and has the ability to back up your accounts with encrypted cloud backup.
- If you do not already have the Microsoft Authenticator app, choose Download now to be taken to a Microsoft page that will have QR Codes for you to download the Microsoft Authenticator application. You could also just search for it in the Google Play* or Apple App* stores. Follow the screen prompts on your mobile device to install the authenticator app.
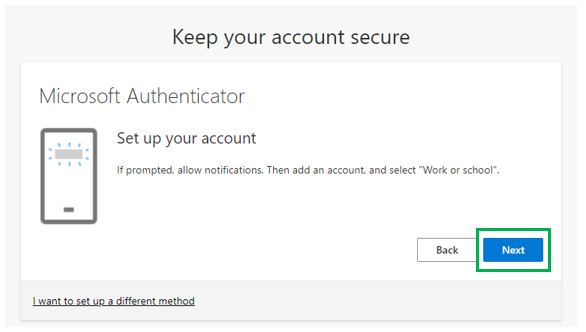
- If you already use Microsoft Authenticator app, choose Next.
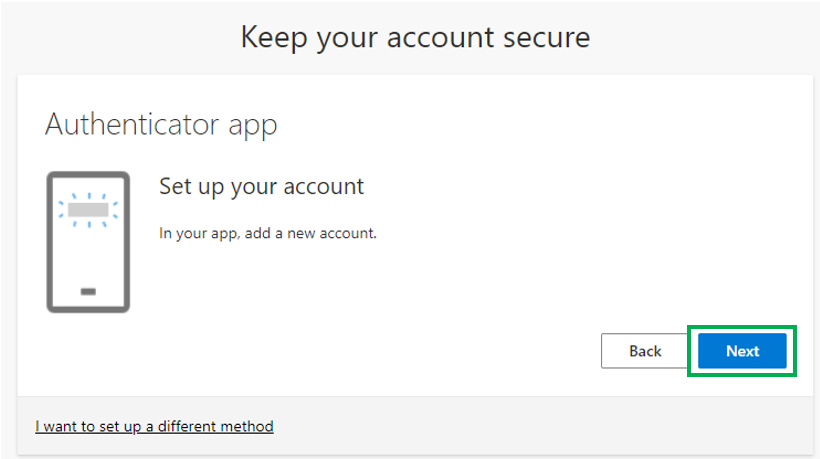
- Once Microsoft Authenticator app is installed on your mobile device, choose Next.
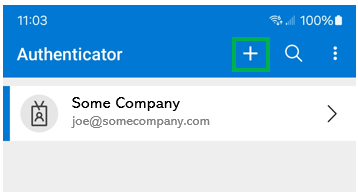
- Open Microsoft Authenticator on your device and choose the + sign. If you already use Microsoft Authenticator you may see some of your other accounts listed when you open the application.
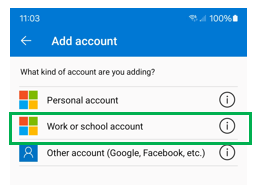
- Choose Work or school account on the Add account screen.
- Choose Scan a QR code on the Add Work or school account screen.

- The camera on your mobile device will now activate allowing you to scan the QR code on your browser.
If you cannot scan the QR Code, choose Can't scan image? underneath the QR code on your browser. A Code and URL will appear on the Intel Registration page. On your mobile device select Scan a QR code and after the camera activates you will see OR ENTER CODE MANUALLY at the bottom of the screen. You will need to type in the Code and the URL into your mobile device.
- You should receive Account added successfully in the Microsoft Authenticator App.
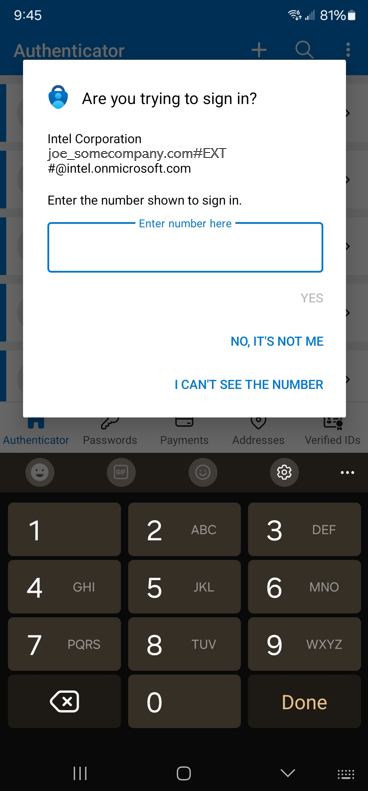
- You will now be prompted to try out the newly added account. A code will be provided to you to input into your Microsoft Authenticator app on your mobile device.

On your mobile device:
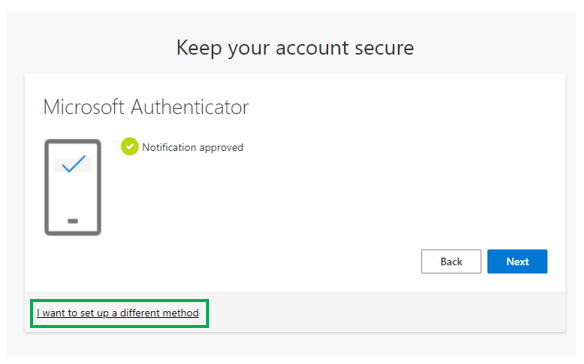
- After successfully testing the new account you will receive confirmation on the Intel Registration page. You should now set up a secondary method to avoid being locked out of your Intel account if you receive a new device. If you choose not to set up a secondary device and this is your first time setting up your MFA at Intel continue on to step 6.
Third-party authenticator application for mobile device
| Note |
This information is provided solely as a convenience to you. The applications listed are not validated by Intel.
|
There are several third-party authenticator applications available like 2FAs*, Google Authenticator*, Duo Mobile*, and Authy*. When considering a third-party application, you should think of the features that may be important to you, like back-up capability, how well known or popular the application is. The instructions provided are general, for specific instructions on adding an account to your third-party authentication application refer to the help for that application.
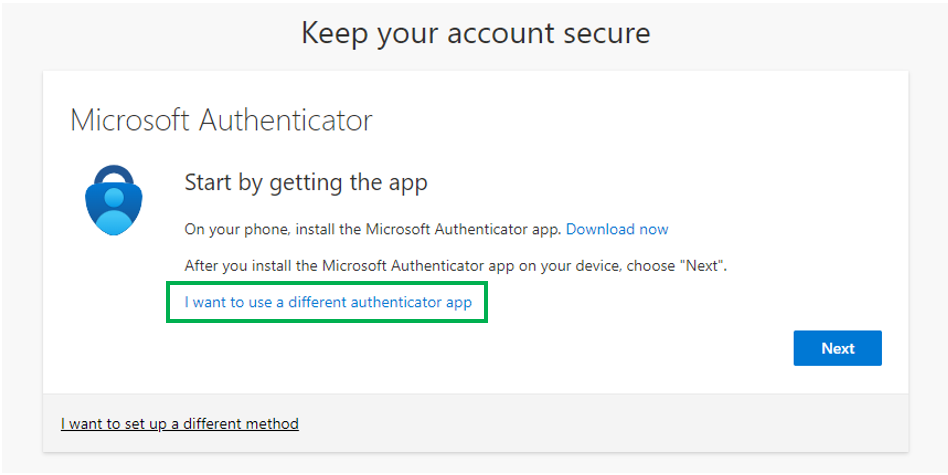
- Choose I want to use a different authenticator app.

-
| Important |
These steps must be performed fairly quickly in order for it to work correctly.
Open your third-party authentication application and choose Add an account. Choose Next on Intel's Registration page.
|

- Scan the QR code through the third-party authentication application on your mobile device. You should receive a success message and a code will display. Choose Next, and you will be prompted to input the code from your authentication app on Intel's Registration page.

- You should receive a success message and can select Done. If this is your first time setting up your MFA at Intel continue on to step 6. If you've had your MFA reset, Intel recommends having more than one MFA method configured for your account. See How to Add Additional Authentication Methods.

Desktop Authenticator application
| Note |
This information is provided solely as a convenience to you. The applications listed are not validated by Intel.
|
There are several third-party desktop authenticator applications available like 2fast* - Two Factor Authenticator or Protecc* - 2FA Authenticator TOTP. When considering a third-party application, you should think of the features that may be important to you, such as back-up capability, how well known or popular the application is. The instructions provided are general, for specific instructions on adding an account to your third-party authentication application, refer to the help for that application.
- Choose I want to use a different authenticator app.
-
| Important |
These steps must be performed fairly quickly in order for it to work correctly.
Open your third-party authentication application and choose Add an account. Choose Next on Intel's Registration page.
|
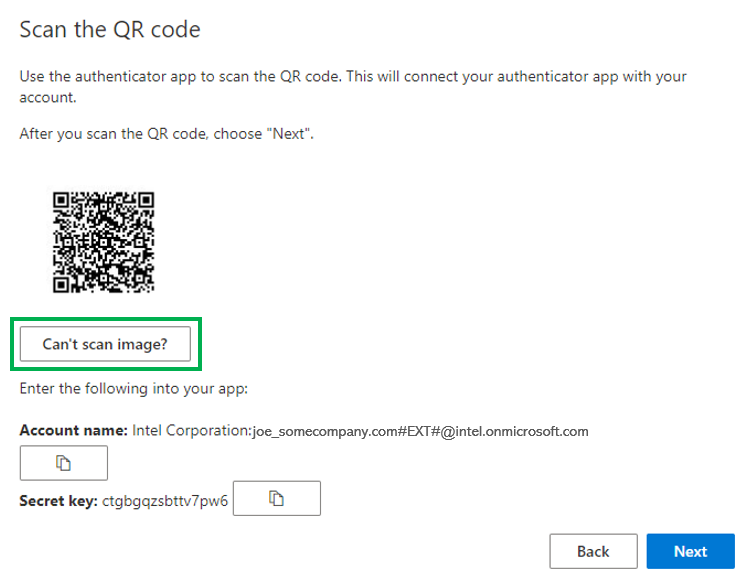
- Choose Can't scan image?. The Account name and Secret key will display for you to input into your authentication app. Account name should begin with Intel Corporation.
- Choose Next. You should receive a success message and a code will display. Input the code from your authentication app on Intel's Registration page.

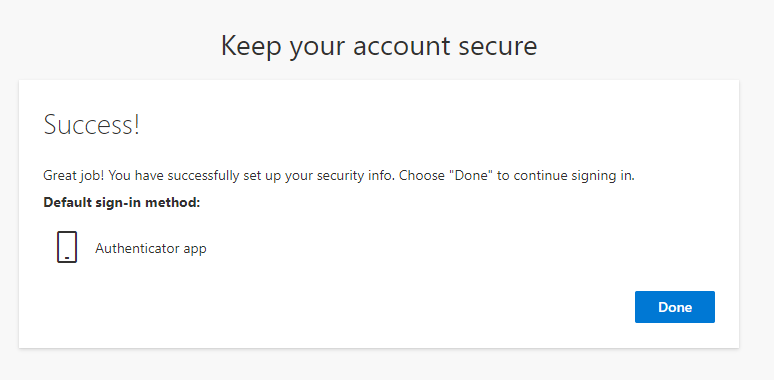
- You should receive a success message and can select Done. If this is your first time setting up your MFA at Intel continue on to step 6. If you've had your MFA reset, Intel recommends having more than one MFA method configured for your account. See How to Add Additional Authentication Methods.
Third-party security hardware key such as YubiKey*
If you cannot use your mobile device and want to use a hardware-based authentication device, YubiKey may be a solution for you in setting up multi-factor authentication with Intel. This solution requires a Windows* desktop/laptop and the YubiKey (available on Amazon and Yubico sites).
Before setting up your MFA method with Intel, you will need to:
- When you are ready to continue setting up YubiKey choose I want to use a different authenticator app.

-
| Important |
These steps must be performed fairly quickly in order for it to work correctly.
Choose Next on Intel's Registration page.
|

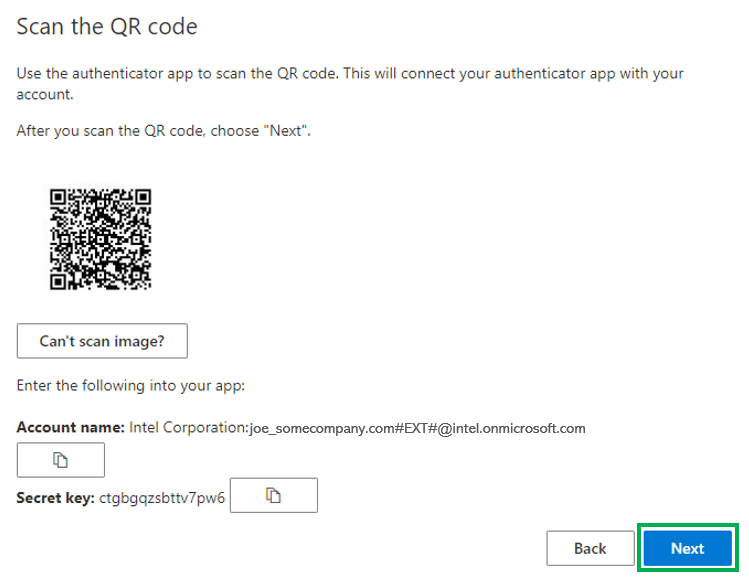
- Choose Can't scan image?. The Account name and Secret key will display for you to input into the Yubico Authenticator app. Account name should begin with Intel Corporation.

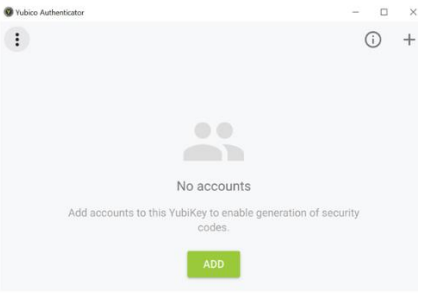
- Insert the YubiKey into the computer and open the Yubico Authenticator Application. Select the Add button.
- The app will automatically scan the QR code, pre-populate the values, and give the option to add an account. By default, the issuer name will be Microsoft. Update it to Intel Corporation and select the Add button.
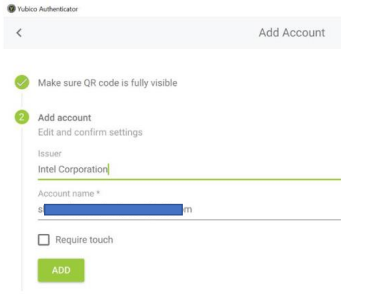
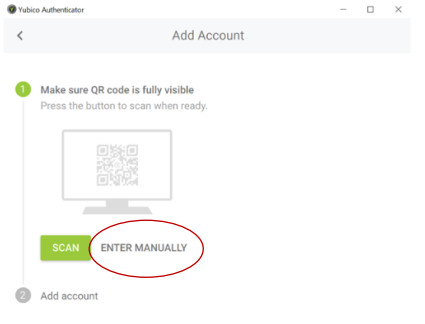
- If it fails to add, use the ENTER MANUALLY option.
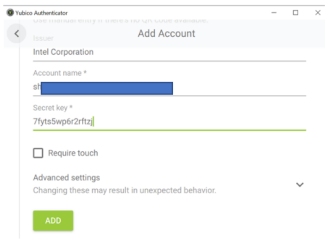
- Use the Account name and Secret key from the earlier step where you chose Can't scan image? on the Intel registration page. The Issuer should be Intel Corporation. Click the Add button.
- The account is added on the Yubico Authenticator app.
- Click Next on the Intel Registration page.
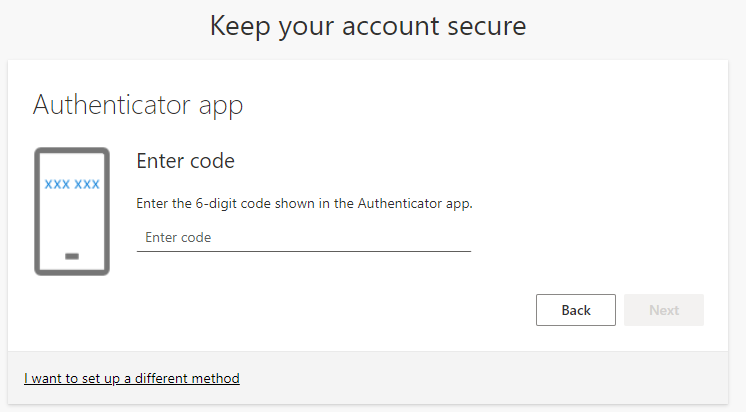
- Enter the 6-digit code shown in the Yubico Authenticator app on the Intel Registration page. Click Next.
- You should receive a success message and can select Done. If this is your first time setting up your MFA at Intel continue on to step 6. If you've had your MFA reset, Intel recommends having more than one MFA method configured for your account. See How to Add Additional Authentication Methods.

SMS text messaging
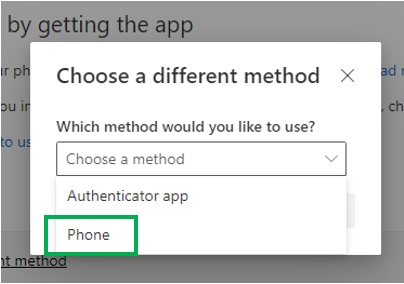
- Choose I want to set up a different method.

- Choose Phone from the dropdown and confirm.
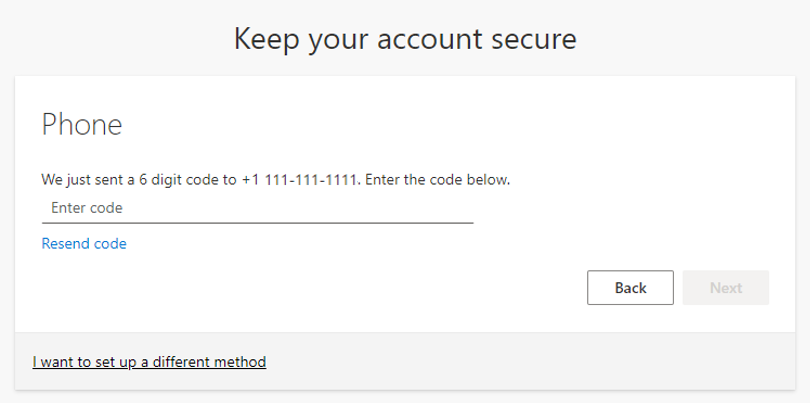
- Select the country code for your mobile device from the dropdown menu. Input your mobile device phone number and select Receive a code. Select Next.

- Enter the code you received on your mobile device via SMS text and select Next. If you did not receive the code, select Resend code.
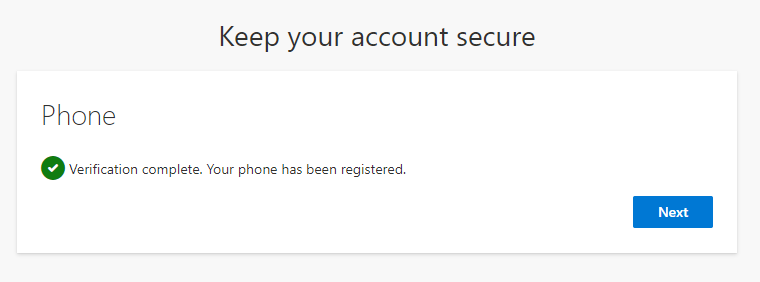
- After entering the code, your phone will be registered with Intel with the SMS Text option. Choose Next.
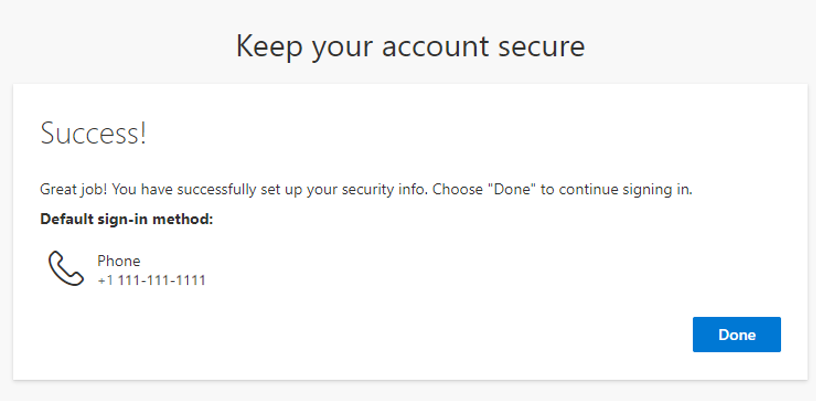
- Choose Done. If this is your first time setting up your MFA at Intel continue on to step 6. If you've had your MFA reset, Intel recommends having more than one MFA method configured for your account. See How to Add Additional Authentication Methods.
Phone call (Can be to a mobile or office phone)
| Important |
You must be able to answer the phone call.
|
- Choose I want to set up a different method.

- Choose Phone from the dropdown and confirm.

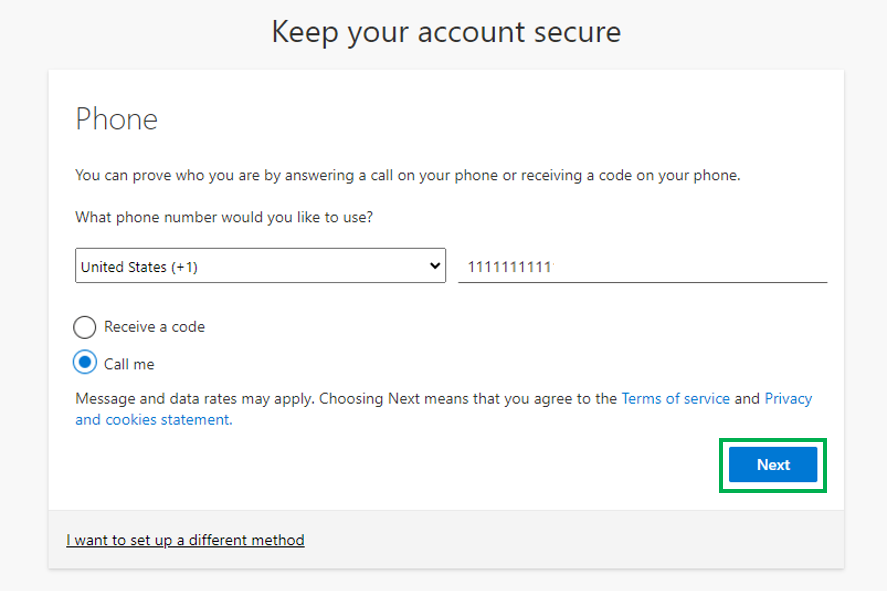
- Select the country code for your phone from the dropdown menu. Input your phone number and select Call Me and select Next.
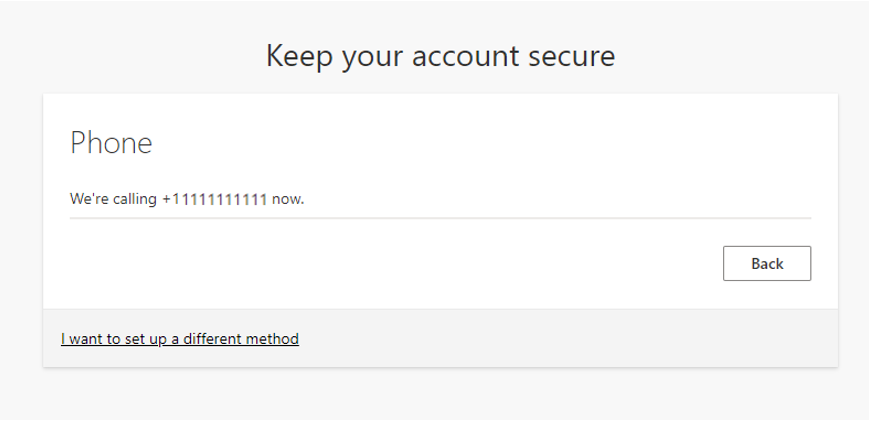
- You should momentarily receive an automated phone call.
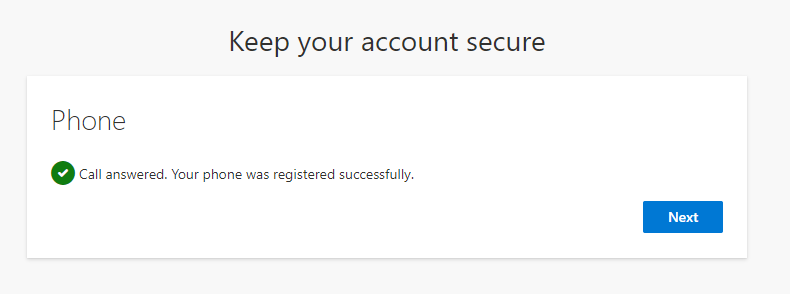
- When you answer your phone you will be prompted to press the # key. You will receive a message on Intel's registration page that the phone was answered and registered successfully.
- You will receive another success message. Choose Done to continue signing in.

- If this is your first time setting up your MFA at Intel continue on to step 6. If you've had your MFA reset, Intel recommends having more than one MFA method configured for your account. See How to Add Additional Authentication Methods.
After successfully setting up your MFA with Intel, you may be prompted to accept Intel's Terms of Use. If you have already accepted those you will be signed in.
| Note |
Intel strongly suggests adding a second authentication method to manage your own devices. To add additional methods, go to the Intel® Azure Portal under Security Info. Then click Add sign-in method.
|