Step 1 - Setup BMC console on North Pass:
- Access BIOS setup
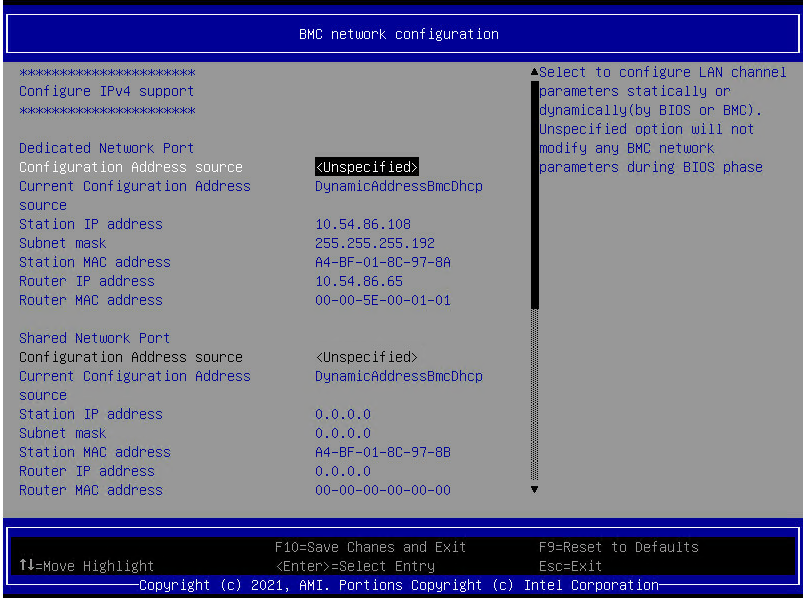
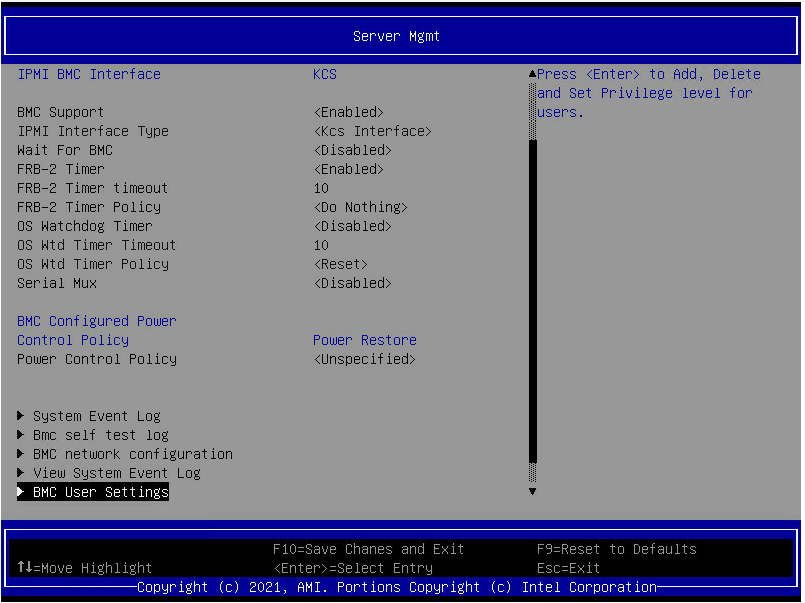
- Go to >> Server Mgmt >> BMC Network Configuration

- Configure the Network details, including IP address, Sub mask, and router IP Address, for example:
- If the BMC user is not configured, go back to the last menu (Server Mgmt) and select the option BMC User Settings
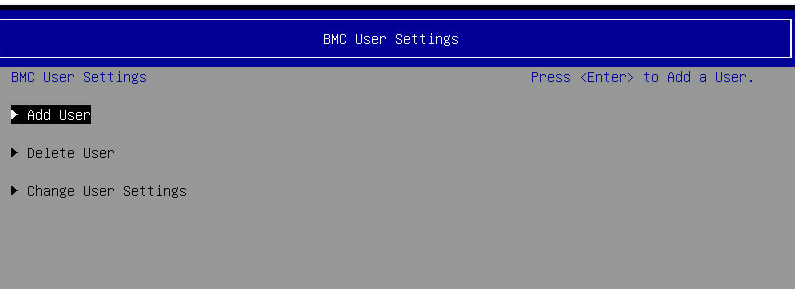
- Select Add User
- Select Username and create a user (note: Cannot be used root)
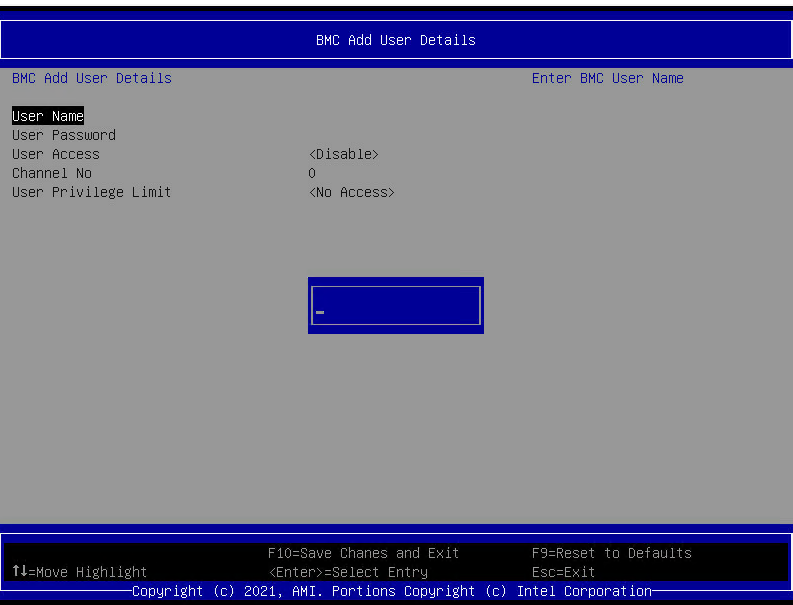
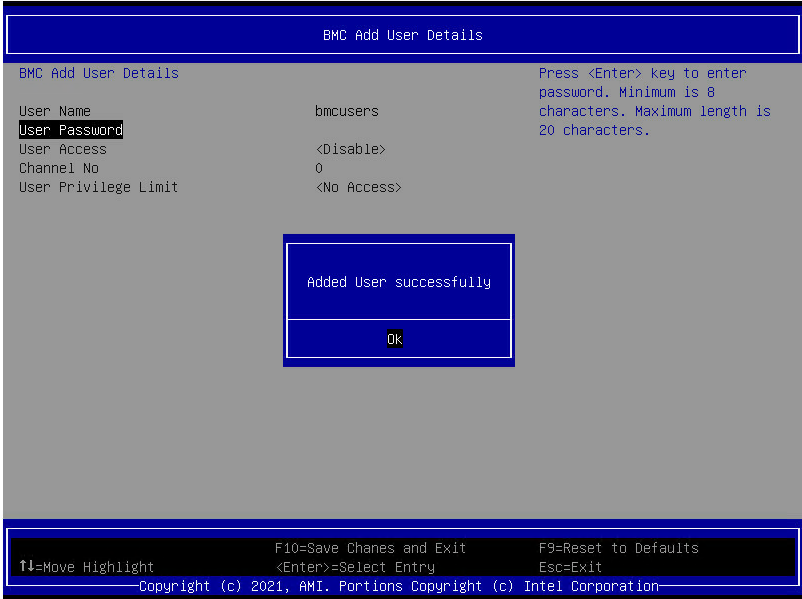
- Set the Password
- After set the User and Password you should receive a screen as follows:
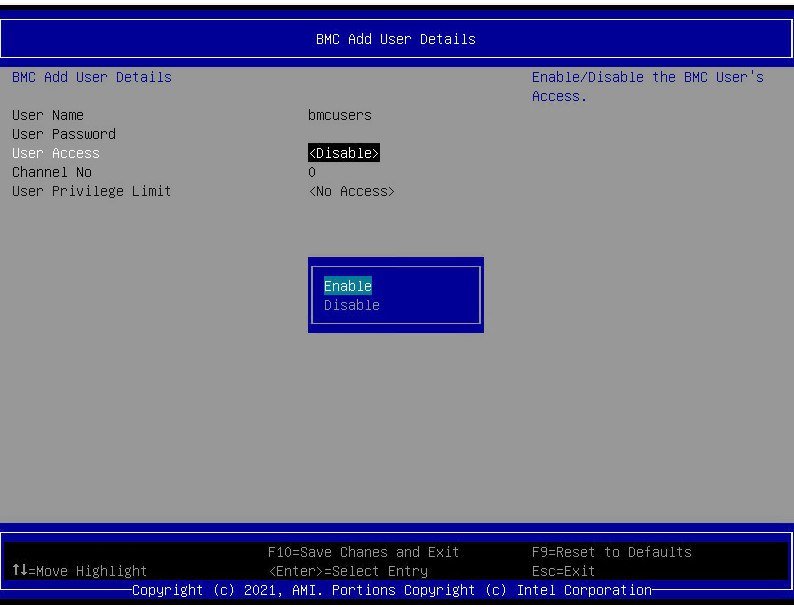
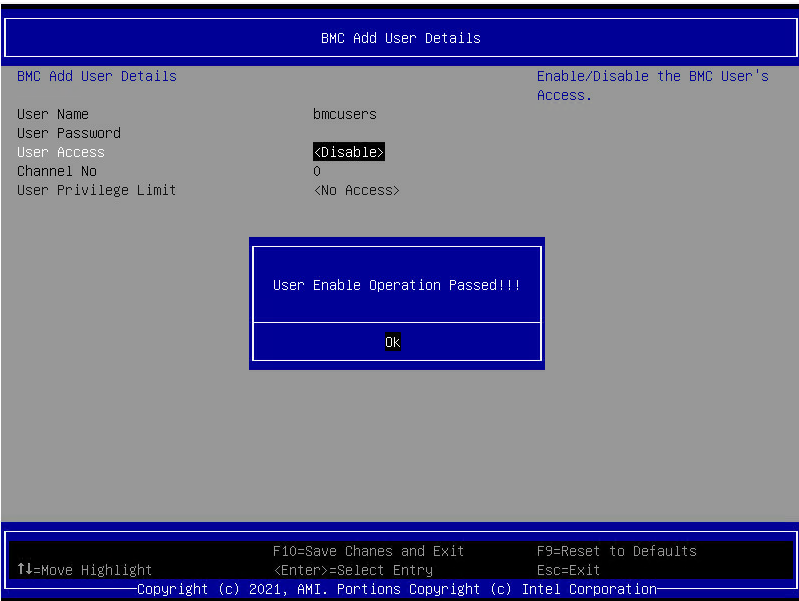
- Set User access – Enable
- After set the user access you should receive the following screen:
- Set Channel No – 1 - (Manually key in number 1 on the keyboard, for channel set )
- Set User Privilege Limit – Administrator

- After the last step, make sure to press F10 (save and Exit)
- Reboot server
Step 2 - Enable BMC Console using IPMI commands:
After the server is back online, execute the ipmi commands to enable the BMC Web Console: (IPMITool Download)
- Make sure the command prompt is on an elevated level (administrator mode);
- From the server North Pass the original commands:
#ipmitool -I lanplus -H<IP Address of BMC Console> -U<account BMC User> -P<password BMC User> raw 6 0x40 1 0x42 4
#ipmitool -I lanplus -H<IP Address of BMC Console> -U<account BMC User> -P<password BMC User> raw 0x32 0x6a 0x01 0x00 0x00 0x00 0x01 0x62 0x6f 0x74 0x68 0 0 0 0 0 0 0 0 0 0 0 0 0 0xff 0xff 0xff 0xff 0xbb 1 0 0 8 7 0 0 0 0 - If the command above fails, from the server North Pass, please try omitting the parameters, and run the command as follows:#ipmitool raw 6 0x40 1 0x42 4
#ipmitool raw 0x32 0x6a 0x01 0x00 0x00 0x00 0x01 0x62 0x6f 0x74 0x68 0 0 0 0 0 0 0 0 0 0 0 0 0 0xff 0xff 0xff 0xff 0xbb 1 0 0 8 7 0 0 0 0
The results should be with no error message:

- If the command still fails, from the server North Pass, run the following command and send back the output for support analysis: Intel Support
#ipmitool -vv raw 6 0x40 1 0x42 4