Environment
Operating System
For the Intel® RAID Controller RS3DC080 firmware version 4.680.00-8292, you can find compatible products on this Product Specifications page.
The following are the steps to add physical drives to a RAID 5 configuration and expand its capacity online.
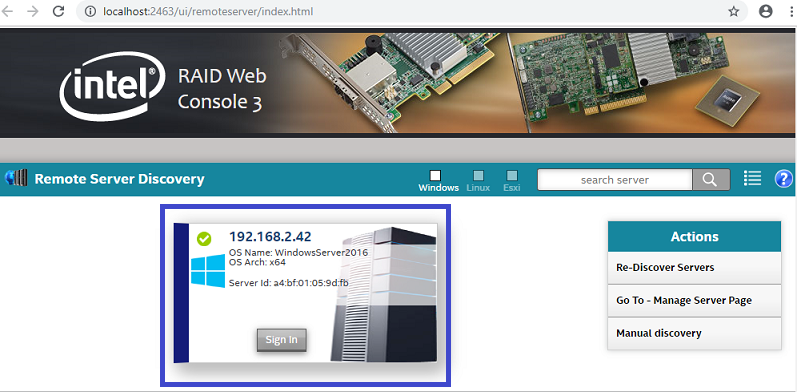
Open the RAID Web Console 3 Software on your preferred Web browser and select the server where the Intel® RAID Controller is present.
| Note | If there are no servers automatically showing up, go ahead and use the Action options. This condition depends on the network configurations and permissions. |
-
Choose the server you'll expand on RAID 5.
-
On the top of the page, choose your Intel RAID Controller:

-
Choose your drive group.
-
Select the virtual drive to enable the options.

-
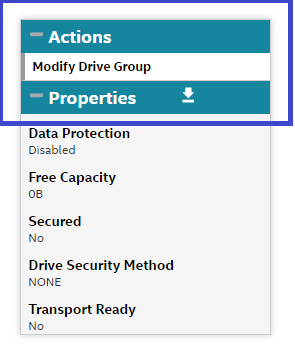
On the right menu, choose Modify Drive Group:
-
On the drop-down menu, choose the type of RAID that will be expanded:

Note You'll be prompted to back up your data, which is strongly recommended.

-
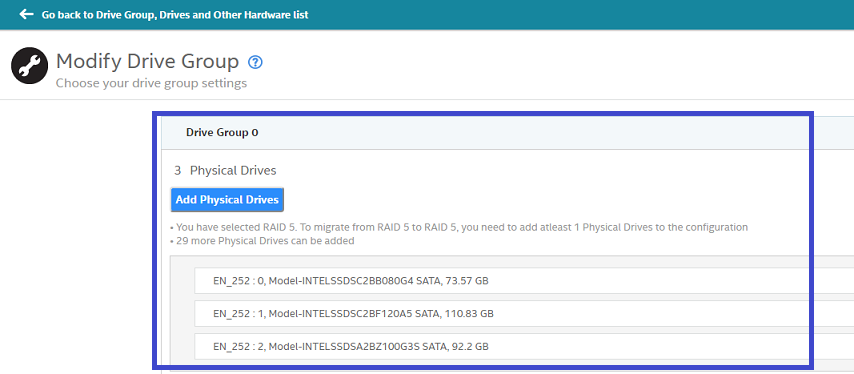
Select Add Physical Drives:
-
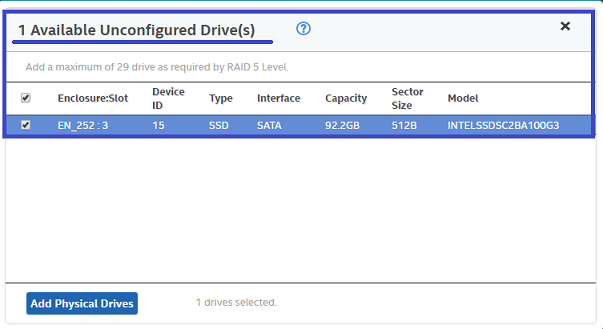
Check the drives available, and then click the Add Physical Drives tab:
-
You should be able to see the four drives. Click Finish.
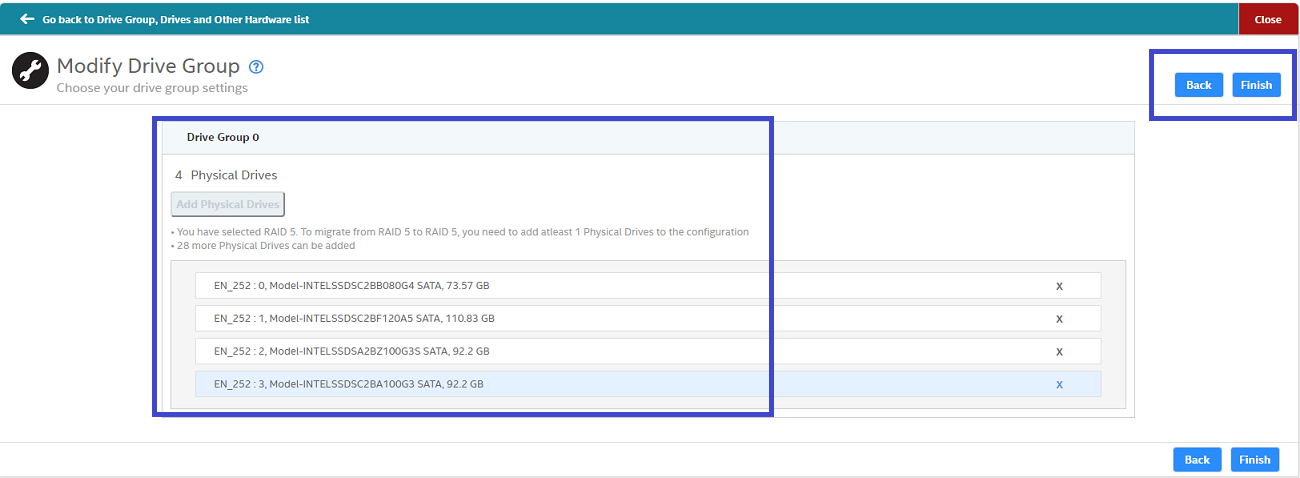
-
Now you'll see the green tab show as Completed:

-
Click Close for returning to the main dashboard.

-
You should now see the RAID reconstruction running as a background process on the main dashboard. The newly added phycial drive will appear under the virtual drive after the reconstruction is complete. The amount of time required for the construction depends on the RAID level and the size of the virtual drive.
