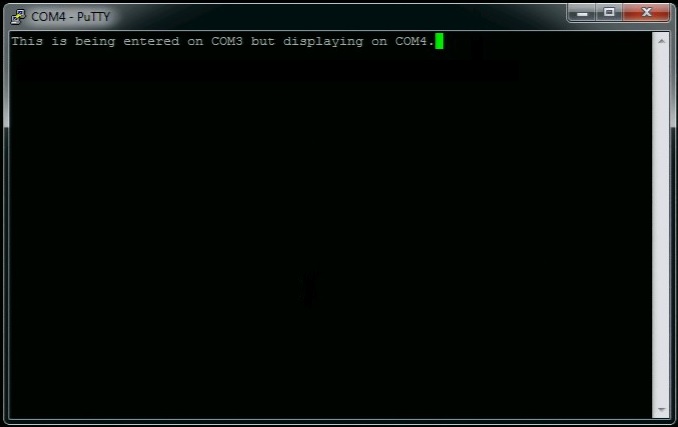
This document provides an example of PC-to-PC communication between two Intel® NUC Kits using a null modem cable.
The following items are used in this example:
- Two Intel® NUC Kit DE3815TYKHE systems, each with:
- Windows 7* operating system and all drivers installed
- Dual serial cables connected to the onboard serial ports. Cables are available at Micro SATA Cables*—part number INTL-2MM-2DB9-6IN
- One DB9 null modem cable, also called a crossover cable
- Terminal emulation program, such as PuTTY*
-
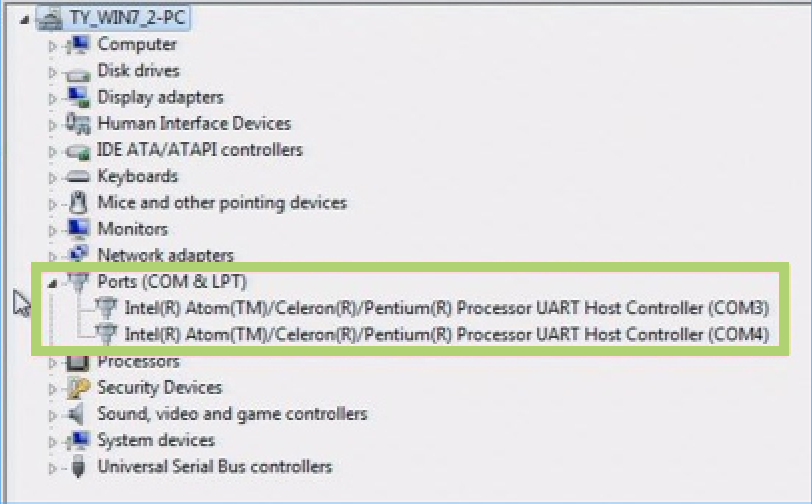
Open Device Manager on both systems. Under Ports (COM & LPT), make a note of the COM ports assigned to the HS-UART Host Controller (usually COM3 and COM4).
-
Connect the null modem cable between the serial port cable headers on the two systems.
-
Identify the COM port that the cable has been connected to on each system. For a dual serial cable, the odd-numbered pins on the header correspond to the lower-numbered COM port. (Using this example, the odd-numbered pins correspond to COM3 and the even-numbered pins to COM4.)
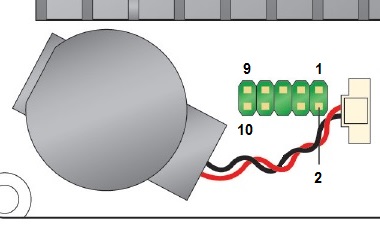
COM3 COM4 Pin Signal Name Pin Signal Name 1 SIO_UART1_RXD 2 SIO_UART2_RXD 3 SIO_UART1_TXD 4 SIO_UART2_TXD 5 GND 6 Key (no pin) 7 SIO_UART1_RTS# 8 SIO_UART2_RTS# 9 SIO_UART1_CTS# 10 SIO_UART2_CTS# -
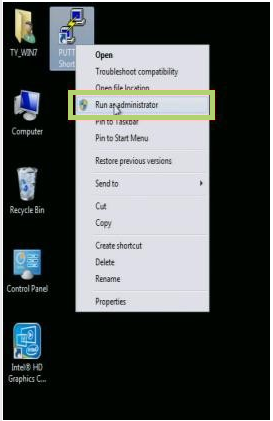
On both systems, right-click PuTTY.exe and click Run as administrator.
-
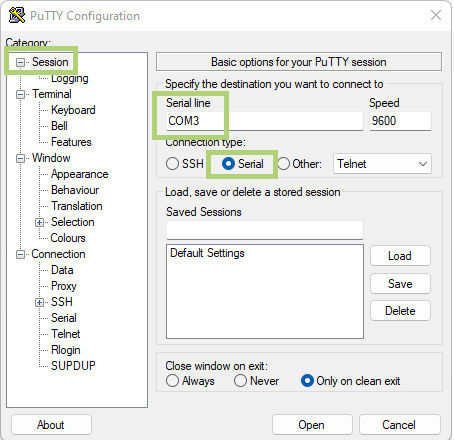
In the PuTTY Configuration window, under Category section, click Session.
- In the Serial line field, enter the COM port number determined in Step 3 for this system.
- Under Connection Type, click Serial.
-
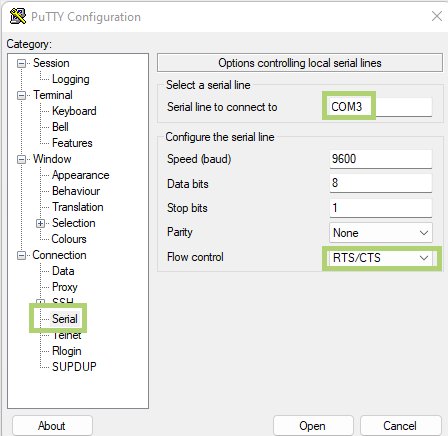
Under Category section, click Connection > Serial.
- Make sure the Serial line to connect to field shows the COM port set in the previous step.
- Set the Flow Control to RTS/CTS.
- Click Open. This begins a communication session with the chosen port.
-
In the PuTTY Communication window, on either system, type any legible text. The text displays only in the communication window on the other system, not on the system that was used to type the text.
