Intel® Extension for Pytorch* is a ready-to-run optimized solution that uses oneAPI Deep Neural Network Library (oneDNN) primitives. This solution works with Intel® Advanced Vector Extensions instructions on 3rd generation Intel® Xeon® Scalable processors (formerly code named Ice Lake) for performance improvement. This quick start guide provides instructions for deploying Intel® Extension for Pytorch* to Docker* containers. The containers are packaged by Bitnami on Microsoft Azure* for the Intel® processors.
Prerequisites
- Google accounts with access to the Google Cloud Platform* service. For more information, see Get Started.
- 3rd generation Intel® Xeon® Scalable processor
- oneDNN (included in this package)
Deploy Intel® Extension for Pytorch*
- To launch a Linux* virtual machine (VM) that's running on Ubuntu* 20.04 LTS:
Note: The minimum version of Ubuntu that Docker supports Ubuntu Bionic 18.04 (LTS). For more information on requirements, see: Install Docker Engine on Ubuntu*.- Go to the appropriate Google Cloud Platform service Marketplace page.
Note: This is an Ubuntu* requirement for Docker. - Select Launch

- Go to the appropriate Google Cloud Platform service Marketplace page.
- To configure the VM on the Google Cloud Platform service:
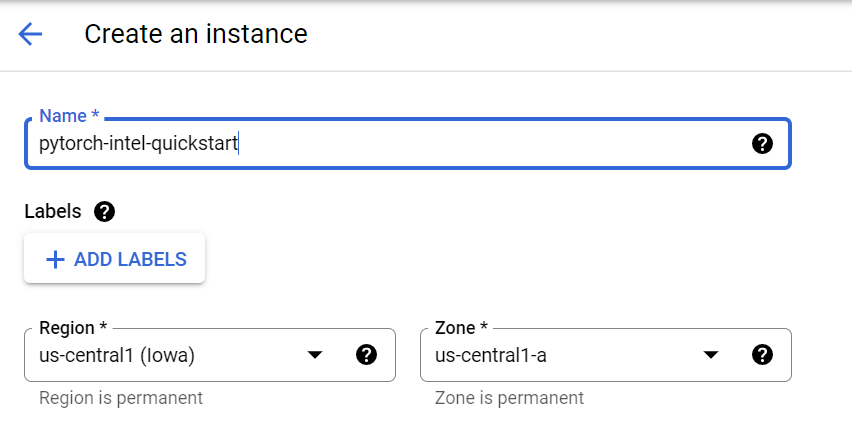
- In Name, enter the name of the instance.
- In Region and Zone, enter the information for where the Intel Xeon Scalable processor is available:
- us-central1-a, us-central1-b, us-central1-c
- europe-west4-a, europe-west4-b, europe-west4-c
- asia-southeast1-a, asia-souteast1-b
For up-to-date information, see Regions and Zones.
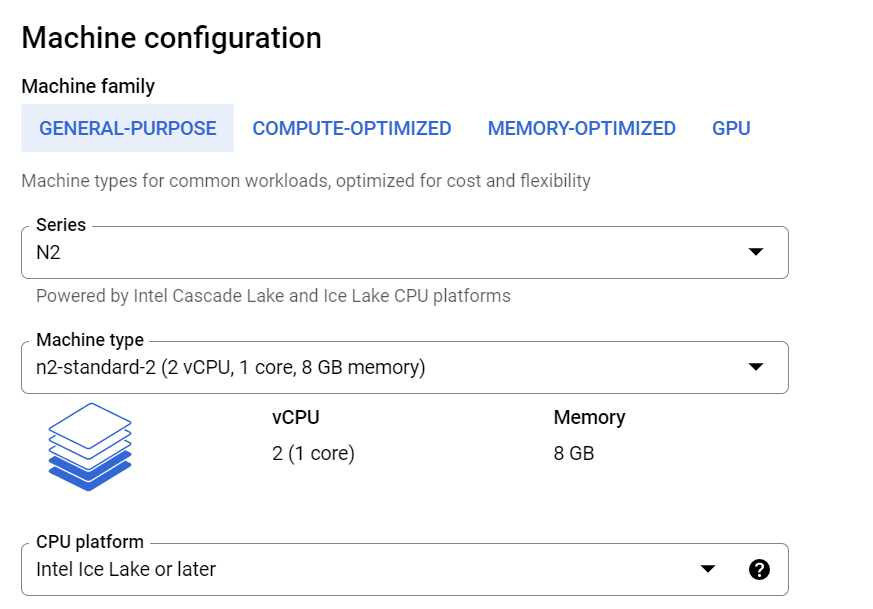
- Select the machine type:
- In Series, select N2. This instance provides the required hardware for the libraries included in the Intel® Extension for Pytorch*.
- In Machine type, select an N2 instance. The machine types are N2-standard, N2-high-mem, and N2-high-cpu. They offer instance sizes between 2 to 128 vCPUs.
- If you select a machine type ranging from 2 to 80 vCPUs, in CPU platform, select Intel Ice Lake or later.
Tip For a recent list of supported processor platforms on Google Cloud*, see CPU Platforms.
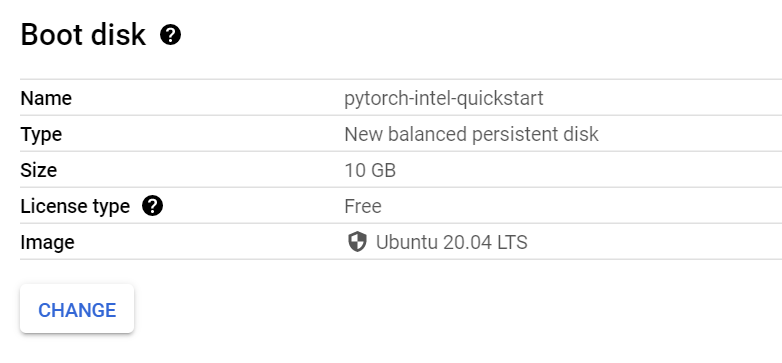
- If needed, in Boot Disk, to update the instance to the Pytorch-Intel requirements, select CHANGE.
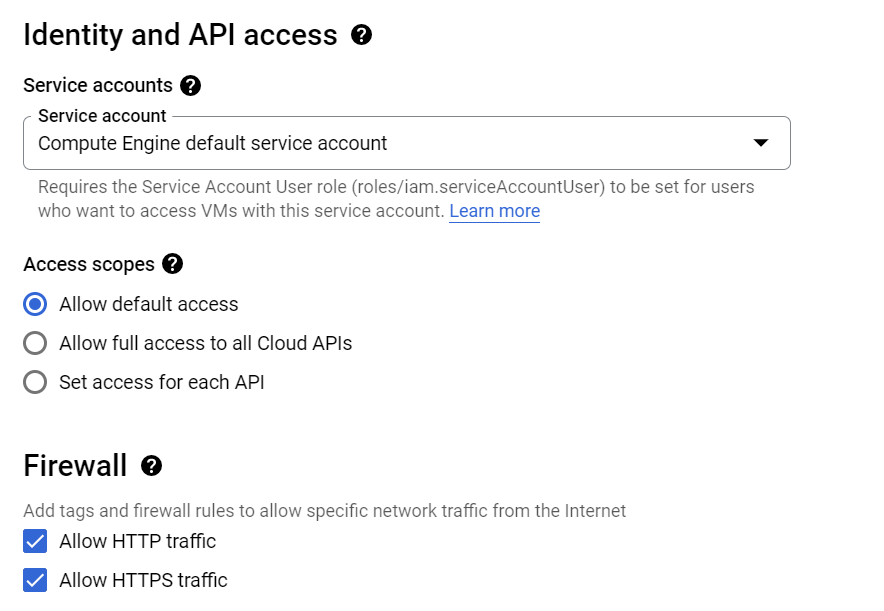
- In the Identity and API access, Firewall, and NETWORKING, DISKS, SECURITY, MANAGEMENT, SOLE-TENANCY areas, update the information for your VM software needs.
- Select Create. This initiates the deployment process. After the deployment process finishes, you can view the new list of VM instances and basic information about it.
- To manage the VM resources and connection, do the following:
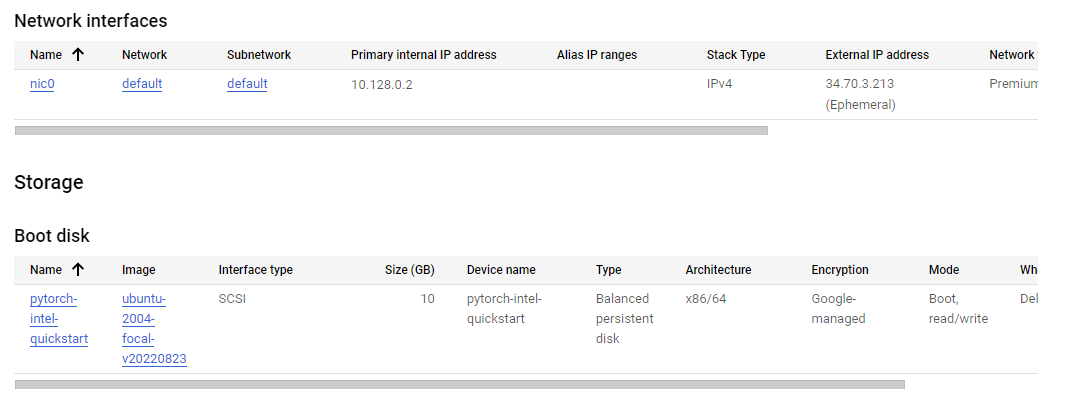
- Under Details, Network interfaces displays the External IP, and Storage displays the boot disk details.
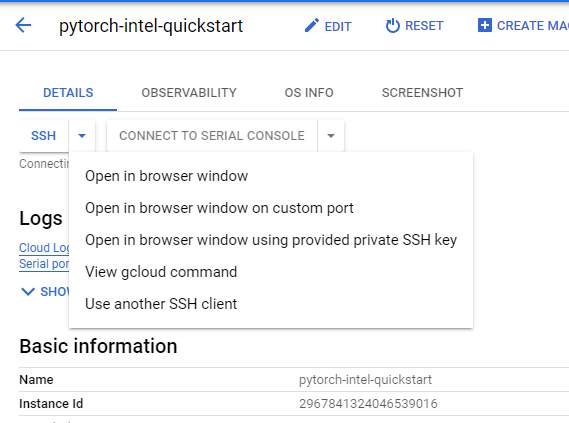
- Select SSH, and then select Open in browser window. After the SSH connects to the VM in the browser-based terminal, you can deploy the Intel Optimization for TensorFlow for the Docker container image.
- Under Details, Network interfaces displays the External IP, and Storage displays the boot disk details.
- To deploy Intel® Extension for Pytorch* on a Docker container:
- If needed, install Docker.
- Add the current user to docker group to get permission with this command:
sudo usermod -aG docker ${USER}
then log out and log back in so that your group membership is re-evaluated. - To use the latest Intel® Extension for Pytorch* image, open a terminal window, and then enter this command:
docker pull bitnami/pytorch-intel:latest
Note: Intel recommends using the latest image. If needed, you can find all versions in the Docker Hub Registry. - To test the Intel® Extension for Pytorch*, start the container with this command:
docker run -it --name pytorch-intel bitnami/pytorch-intel /bin/bash/
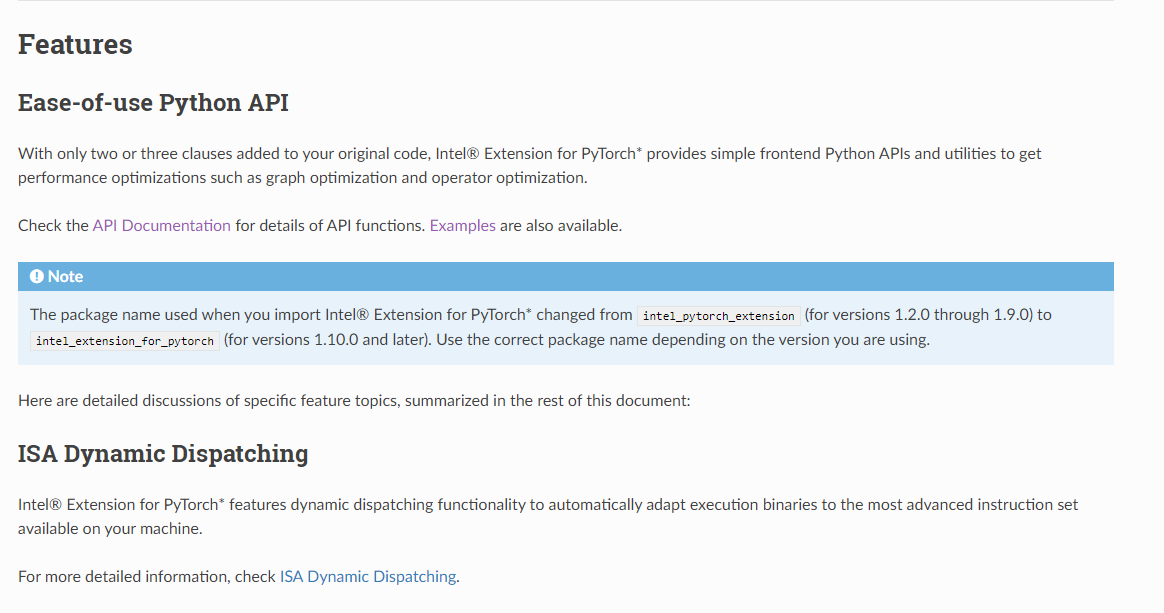
Note: pytorch-intel is the container name for the bitnami/pytorch-intel image. For more information on the docker run command (which starts a Python* session), see Docker Run. The container is now running. - Import the Intel® Extension for Pytorch* into your program. The following image demonstrates commands you can use to import and use the Pytorch* and Intel® Extension for Pytorch* API.

- Start optimize your pytorch implementation with Intel® Extension for Pytorch*, Here is a simple resnet inference code from IPEX Resnet50 Examples.
import torch
import torchvision.models as models
model = models.resnet50(pretrained=True)
model.eval()
data = torch.rand(1, 3, 224, 224)
model = model.to(memory_format=torch.channels_last)
data = data.to(memory_format=torch.channels_last)
#################### code changes ####################
import intel_extension_for_pytorch as ipex
model = ipex.optimize(model)
######################################################
with torch.no_grad():
model(data)
- For more information about using Intel® Extension for Pytorch* and its APIs, see IPEX Features and IPEX APIS.
Note This deployment method may not always deploy on Intel® Xeon® Scalable processors as expected.
To verify that the instance is deployed:
Go to your project's Compute Engines list.
Select the instance you created. This displays the Instance Details page.
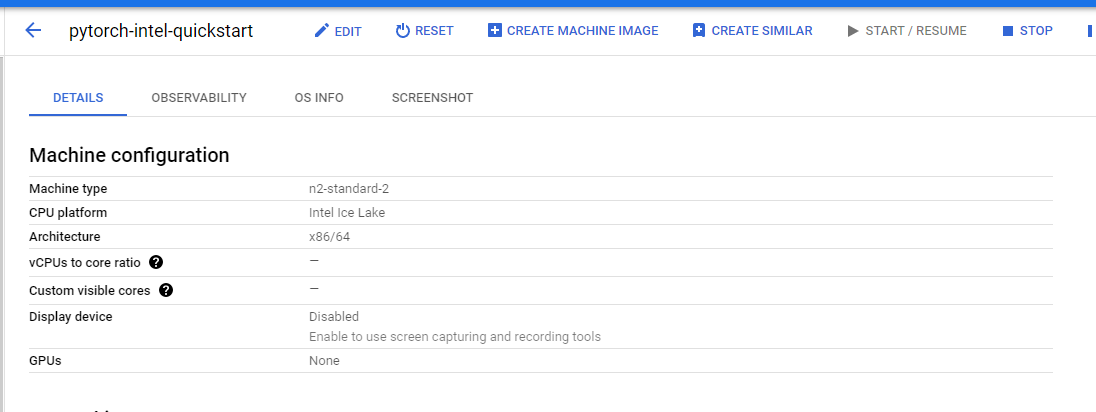
Scroll to the Machine configuration section. The CPU Platform must display Intel Ice Lake. If another processor name appears, fix it with the Google Cloud Command Line Interface (gcloud CLI).
References