To create a NIC Team:
- In Server Manager, click Local Server.
- In the Properties pane locate NIC Teaming, and then click the link Disabled to the right. The NIC Teaming dialog box opens.
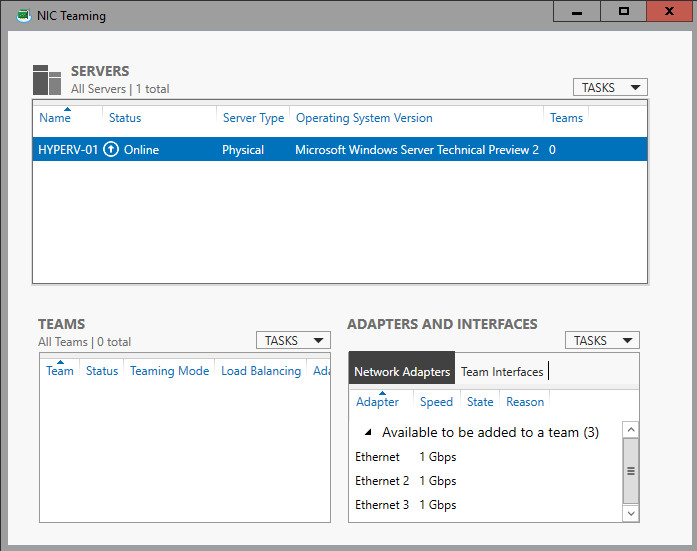
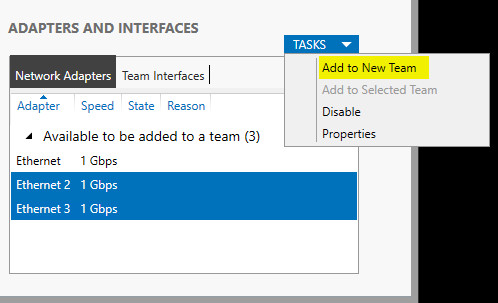
- In Adapters and Interfaces, select the network adapters that you want to add to a NIC Team.
- Click TASKS, and then click Add to New Team.
- The New team dialog box opens and displays network adapters and team members. In Team name, type a name for the new NIC Team.
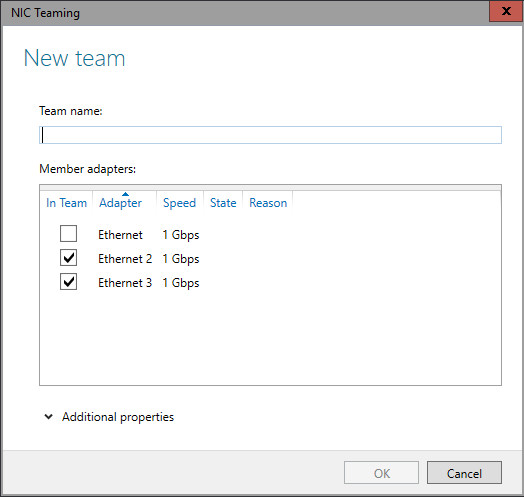
- If needed, in Additional properties, select values for Teaming mode, Load balancing mode, and Standby adapter. In most cases, the highest-performing load balancing mode is Dynamic.

- If you want to configure or assign a VLAN number to the NIC Team, click the link to the right of Primary team interface. The New team interface dialog box opens.

- To configure VLAN membership, click Specific VLAN. Type the VLAN information in the first section of the dialog box
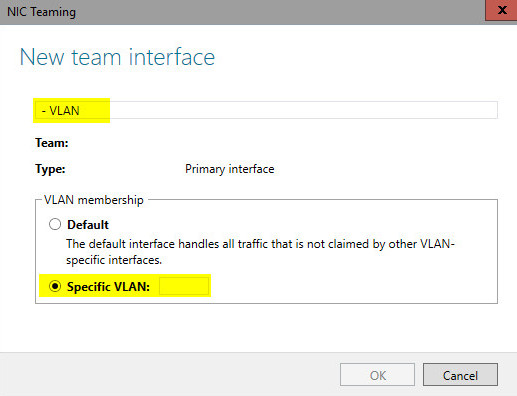
-
Click OK.
PowerShell* Instruction
Creating the Network Team using PowerShell
See the Microsoft TechNet article that details NIC Teaming (NetLBFO) cmdlets in Windows PowerShell*.
- Open an elevated PowerShell prompt. In the Windows® 10 taskbar search, type PowerShell. Press the W and S keys to open Search.
- You should now see the result Windows PowerShell at the top. Right-click Windows PowerShell and select Run as Administrator.
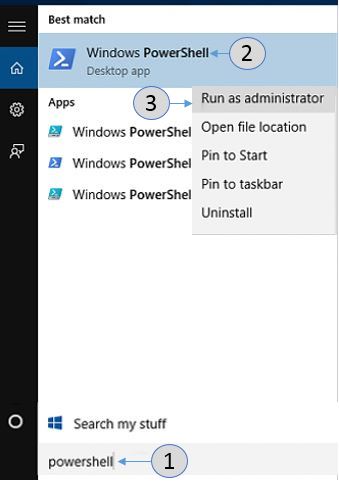
- If you are presented with the User Account Control prompt, click Yes.
- Enter the command new-NetLBFOTeam [TEAMNAME] “[NIC1]”, “[NIC2]” and press the Enter Key.
[TEAMNAME] – the name you want to give to the team of network adapters
[NIC1] – the name of the first network adapter found from above
[NIC2] – the name of the second network adapter found from above 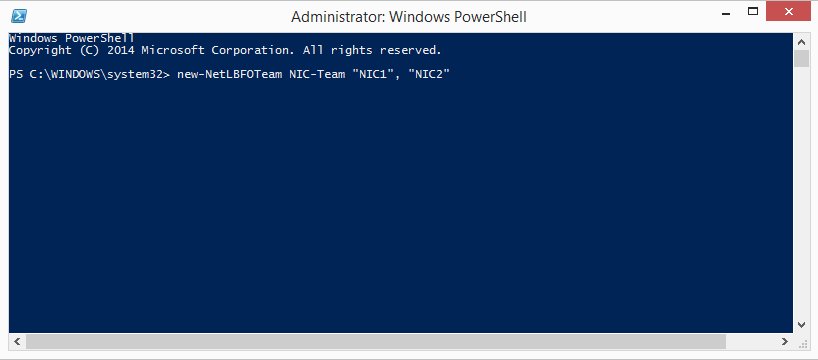
- Open the Network Connections by going to Control Panel > Network and Internet > Network Connections.