Use the following steps towards the configuration for BMC and SOL redirection.
BIOS configuration and version
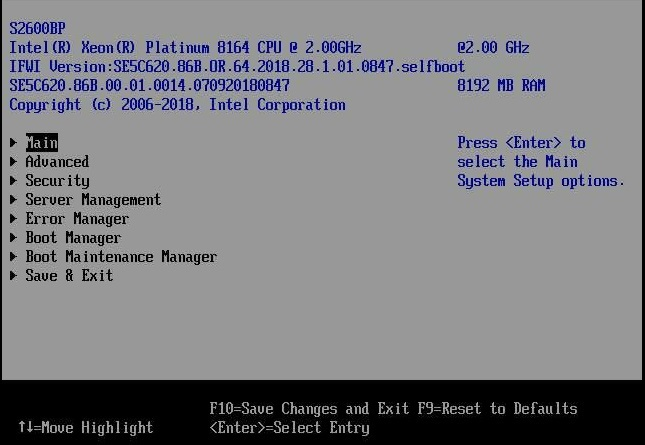
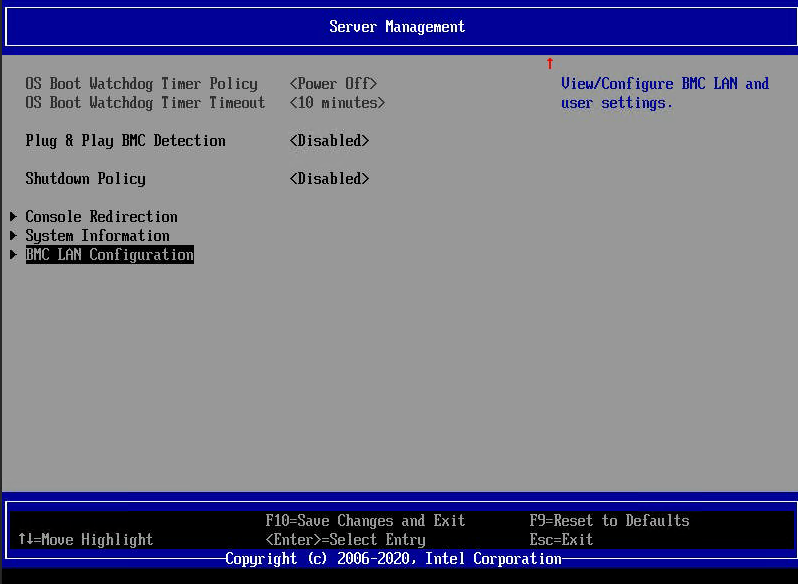
- Go to Server Management configuration >> Server Management.
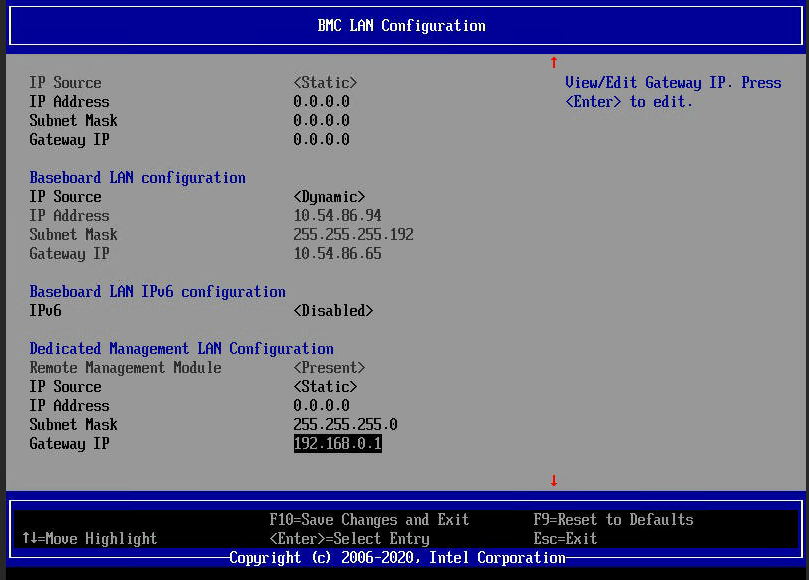
- Select BMC LAN configuration.
- Configure the Internet Protocol (IP) settings according to your network settings.
| Note | Try DHCP assignment first and make an Internet control message protocol (ICMP) test. |
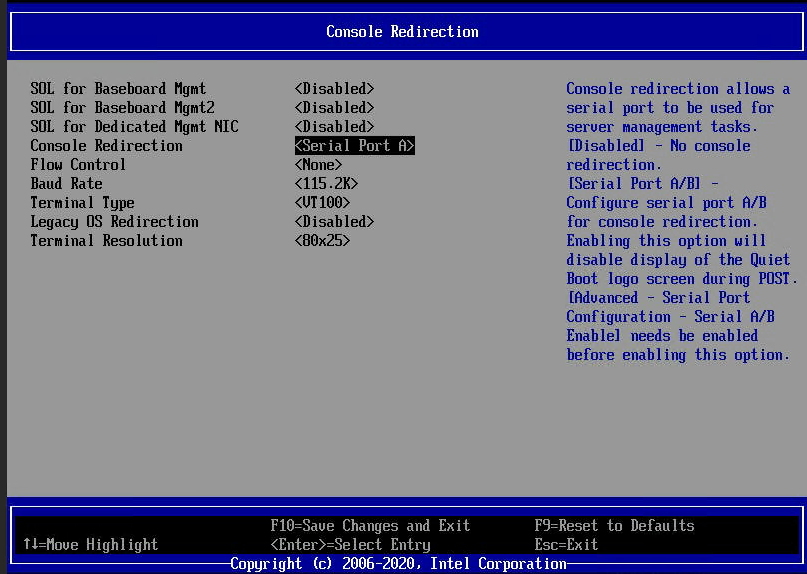
- For SOL redirection, if necessary, go to Console Redirection.
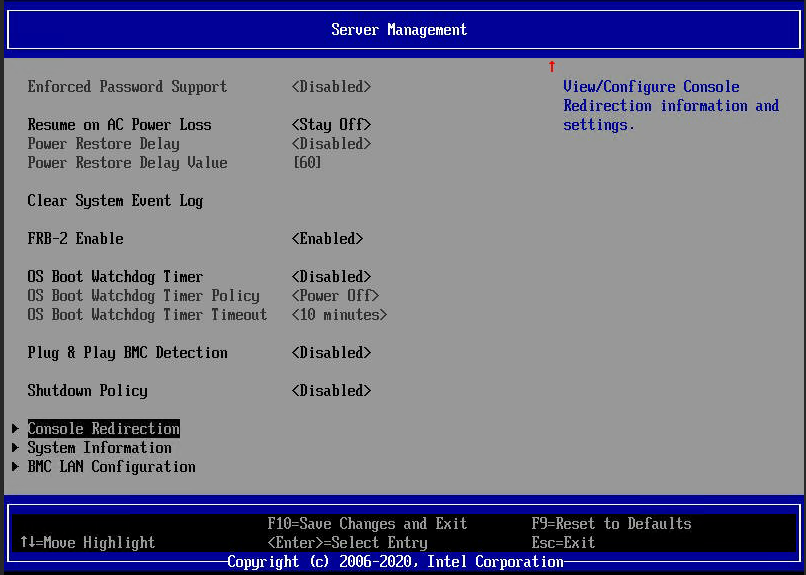
- Verify that Console Redirection is enabled.
- Press F10 to save the settings on the BIOS and restart the server.
- Go to the browser and launch the BMC web console.
| Notes: |
- You must have Java installed. The installation instructions are at the end of this document.
- Make sure to type https://, and then type the IP address before hitting Enter.
|
- On Remote Control, you can select either of these options: Launch SOL or Keyboard, Video & Mouse (KVM)/Console Redirection.
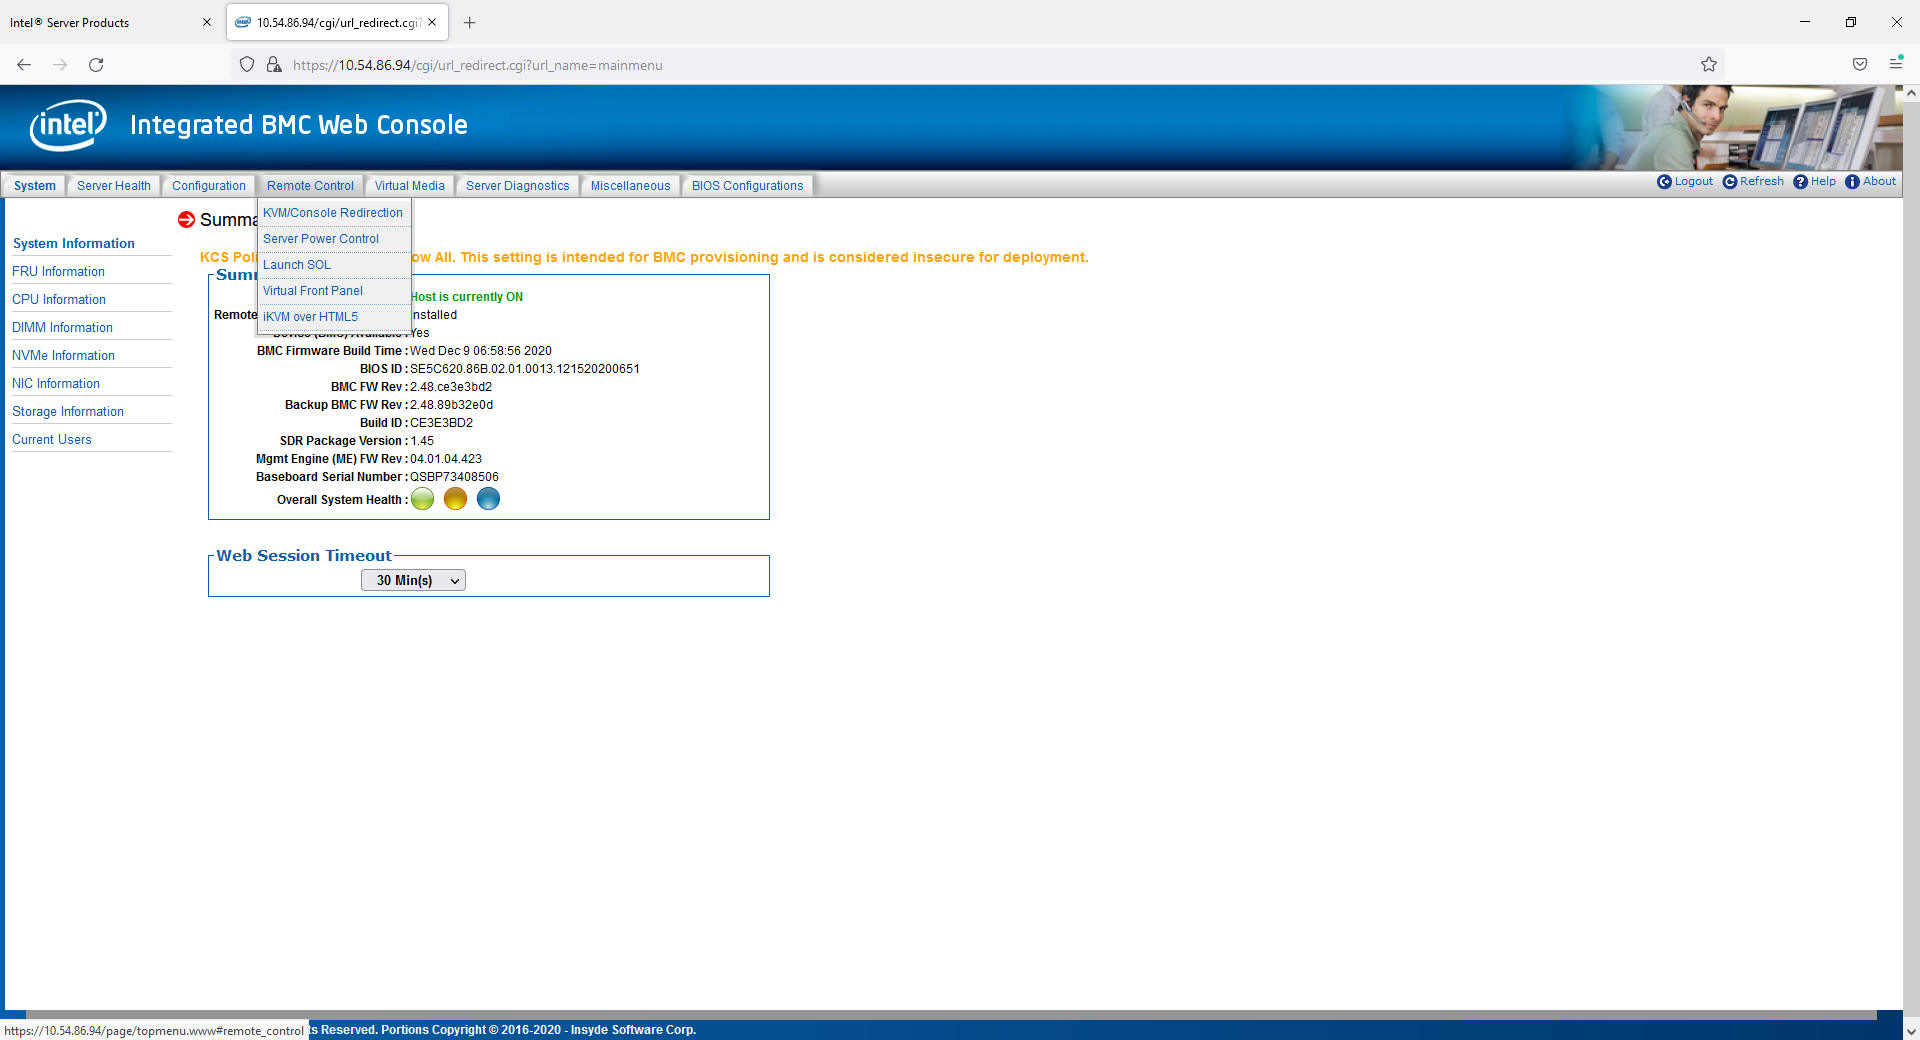
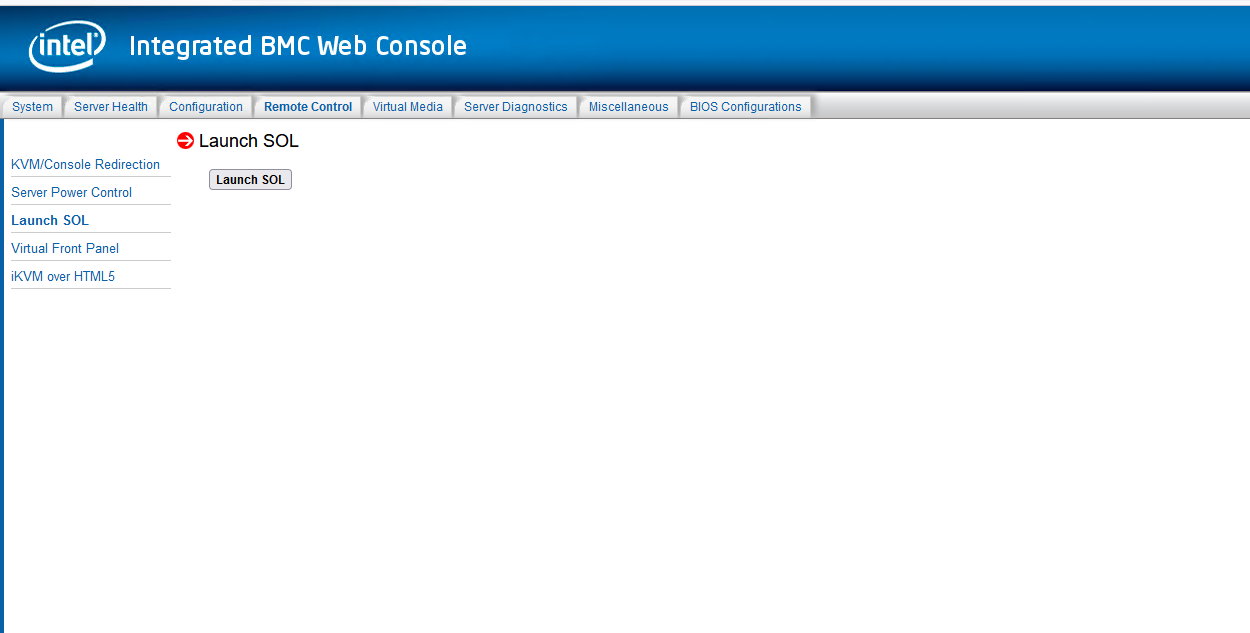
- At this time, you're opening the SOL console, but it's the same process for BMC:
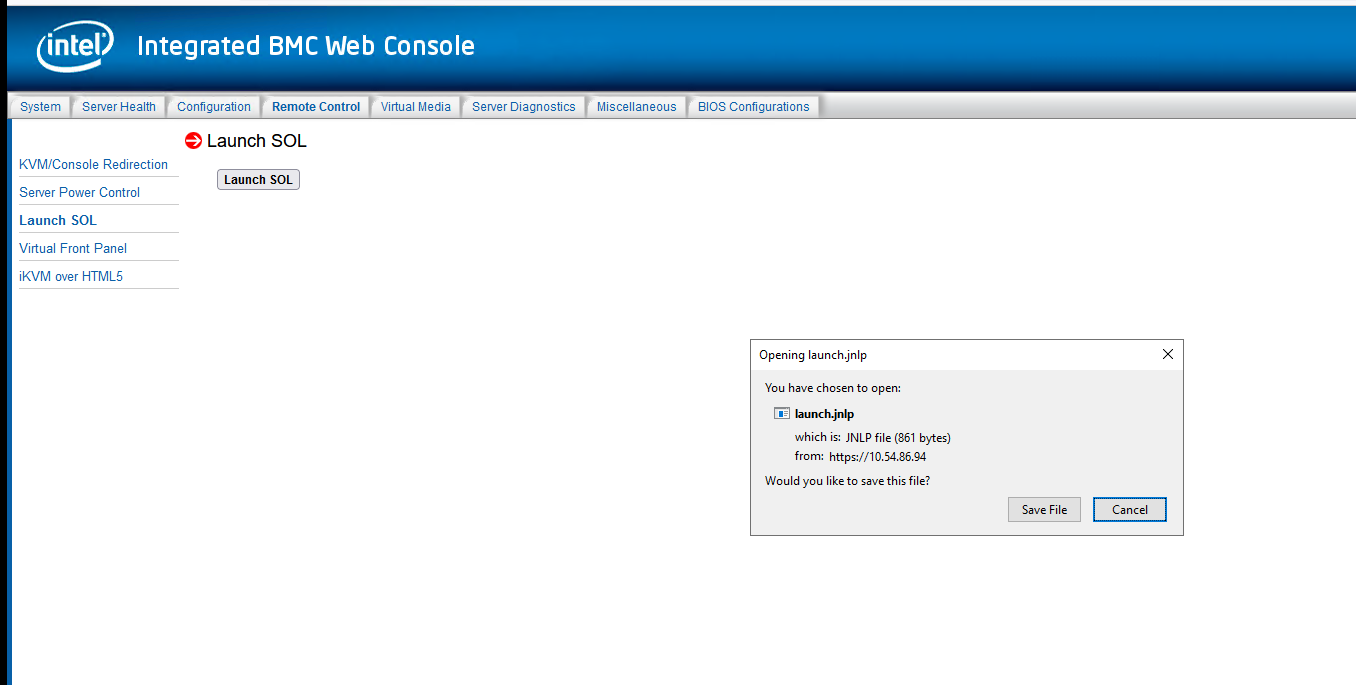
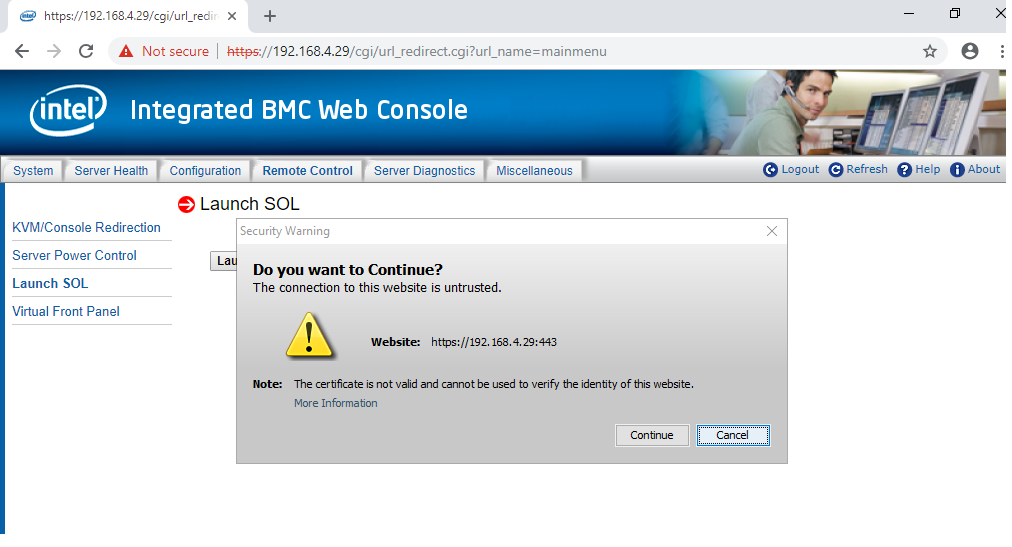
- When the pop-up appears, select Keep.
- Click Continue.
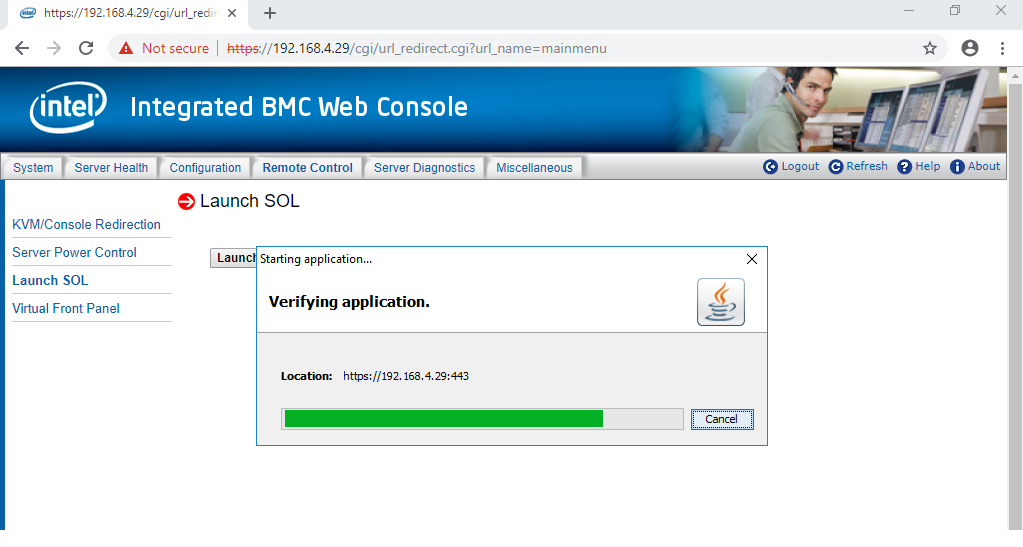
The application shows the running process:
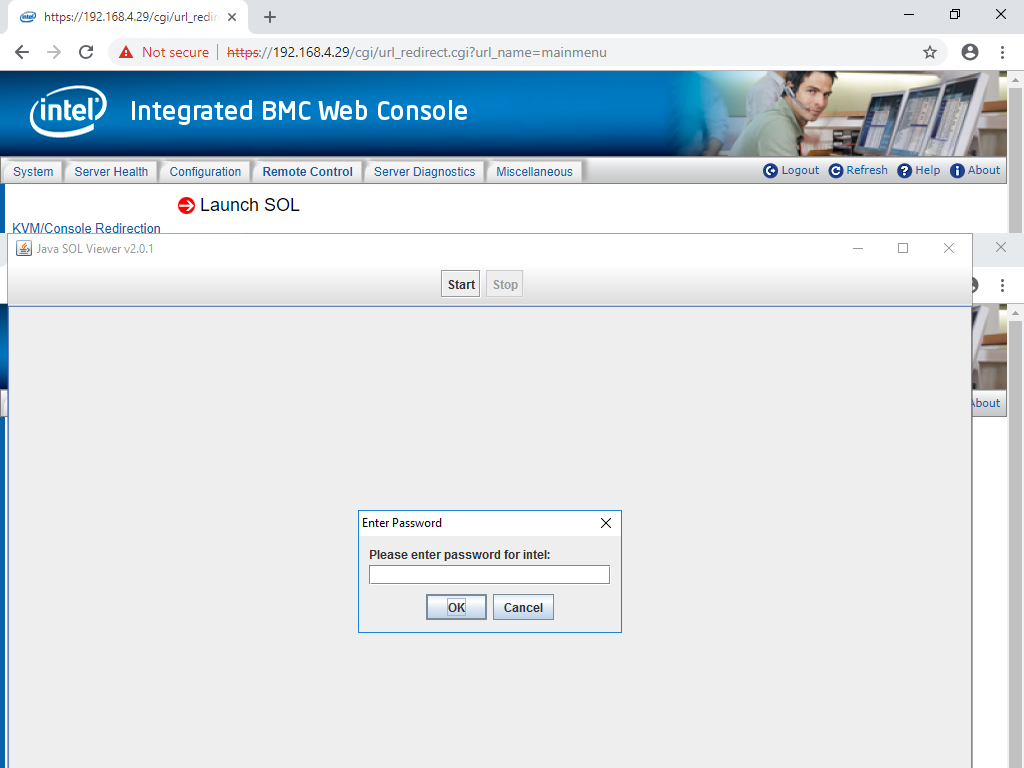
- Use the credentials created on the BMC setting users:
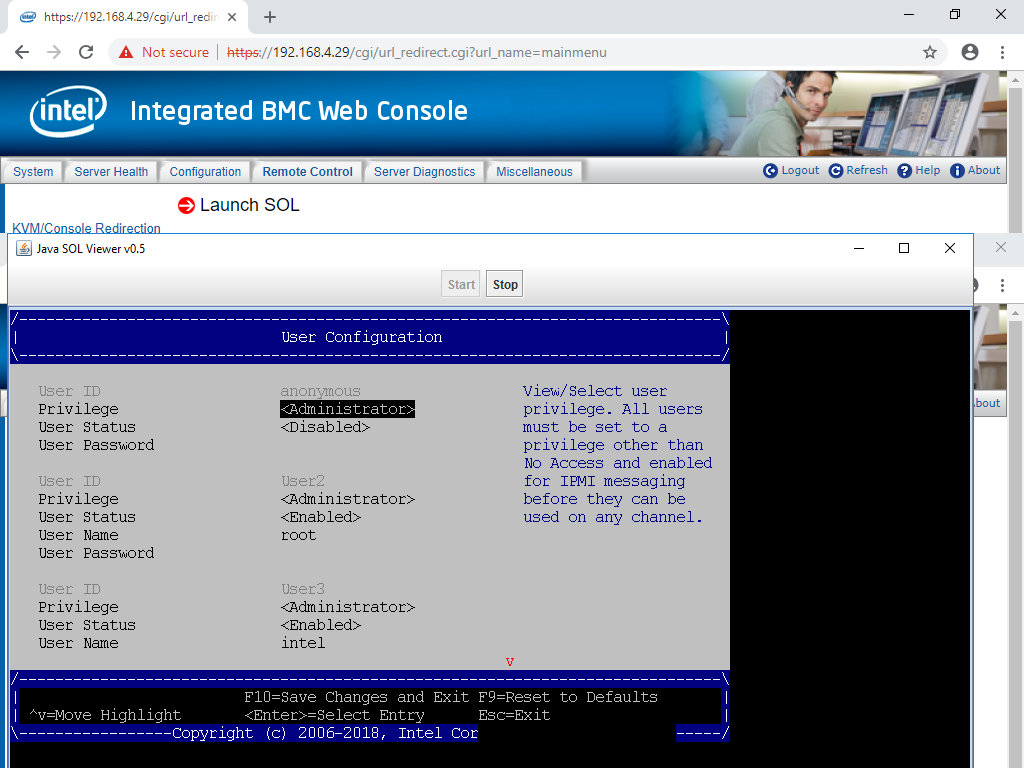
Access is granted successfully:
Here's a comparison of the SOL view and the KVM Console:
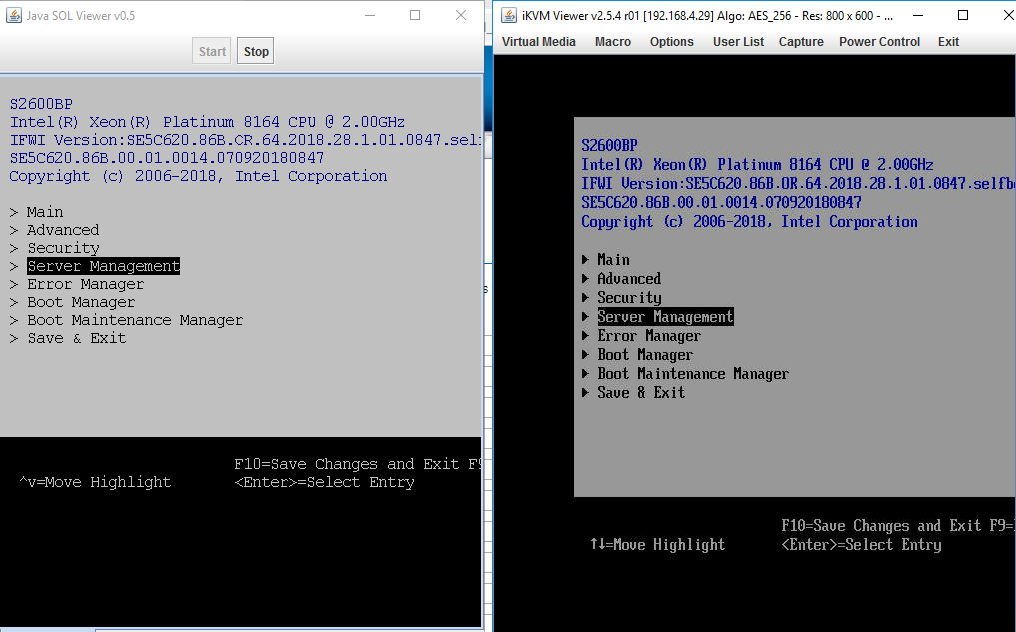
We recommend using BMC KVM redirection as the main option and SOL as a secondary one.
Add and modify users' privileges
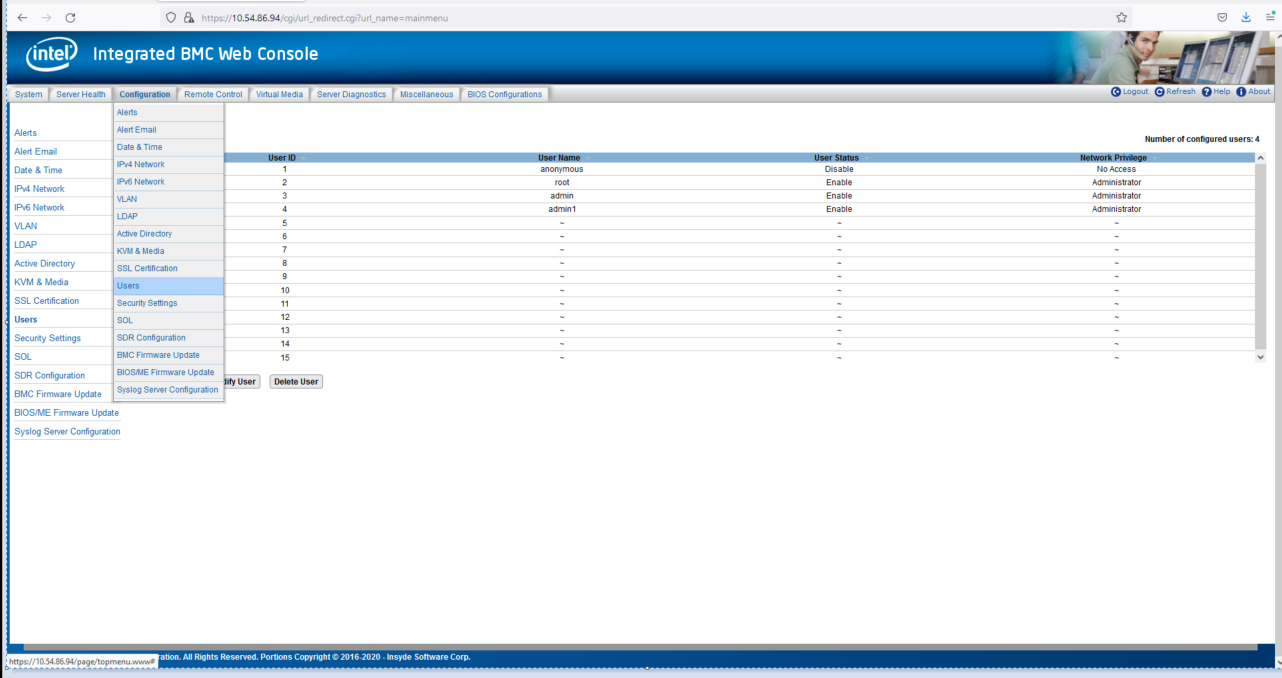
Grant access to IPMI.
Java procedure
The system must have Java installed. You can download in order allow the extension to run.
| Note | There may be changes introduced in early 2019 that may depreciate continued support/functionality using Java to access BMC. |
As of this moment, either Google Chrome or Mozilla Firefox appears to support launching the BMC Remote Viewer. This support may change if policies regarding Java change drastically. This hasn't been tested on iexplorer.exe (which should represent some baseline of support for legacy technologies).
Steps towards the configuration:
- Access the Server BIOS (Normally, press F2 during the prompt on Startup and configure BMC settings.)
- Confirm that BMC and SOL settings are correct.
- Confirm that the Remote Management Module is installed in the server.
- Confirm that the credentials and administrative settings for BMC user accounts are correct.
- Attempt to access the BMC via the assigned IP address on the desired web browser on a remote computer (This should have been reflected in the BMC configuration section of BIOS).
| Note |
- Launching a BMC Remote Session (Console Redirection) via the link in the Integrated BMC Web Console will trigger a pop-up, which may be suppressed by browser settings. Thus, we may need to enable popups for a specific URL or website; for this, refer to the browser instructions on configuring pop-up settings. The pop-up should trigger a download of a Java Web Start file (JNLP extension).
- If the JNLP Java Web Start file doesn't automatically launch the Java Web Start application, you should be able to locate it in the default download location.
- Most browsers have a keyboard combination to bring up the downloads (CTRL+J, for example in most Windows-based web browsers).
- As of this moment, it appears that each instance of a launched console, represented by a unique JViewer.JNLP file, can only be used once after its download. Best practices would involve deleting a used JViewer.JNLP file and downloading a brand new one to avoid confusion.
- If the JViewer launches and there's a black screen, you're probably using an expired JViewer.JNLP file. Download a new file by selecting Launch Console in the Remote Control tab of the Integrated BMC Web Console.
|
We can also Launch Console from a command prompt by typing javaws jviewer.jnlp. You must be in the same directory as the JNLP file in order to successfully launch it via CLI (command-line interface):
- Go to Start > Run > type command. A command prompt window will appear.
- Type javaws jviewer.jnlp.
Each Jviewer.jnlp file is meant for a one-time use. If you find that following procedures doesn't trigger the remote session:
- Clear out all downloads of JNLP related files.
- Consider uninstalling and reinstalling Java and try again.